Finger Waves: Sculpted S-Shaped Waves Guide
Learn what finger waves are, how to style them on short or long hair, and preview the look with BlondeFilter AI before your next cut or event.


Click or drag photos here to upload
Supports JPG, PNG formats, max 5MB, JPEG format recommended


Choose your preferred style, then upload and process your photo on the left
From 1920s speakeasies to red carpets and social feeds today, finger waves have never really gone out of style. The glossy, S-shaped pattern hugs the head, frames the face beautifully, and works on many hair textures and lengths without relying on heat tools. For women who want something that feels both vintage and modern, finger waves are a high-impact, low‑damage option.
In this guide, you’ll learn what finger waves are, why they became so iconic, and how to create them step by step at home or with a stylist. We’ll also walk through tips for different hair types and lengths, plus ways to test the look virtually with BlondeFilter before you commit.
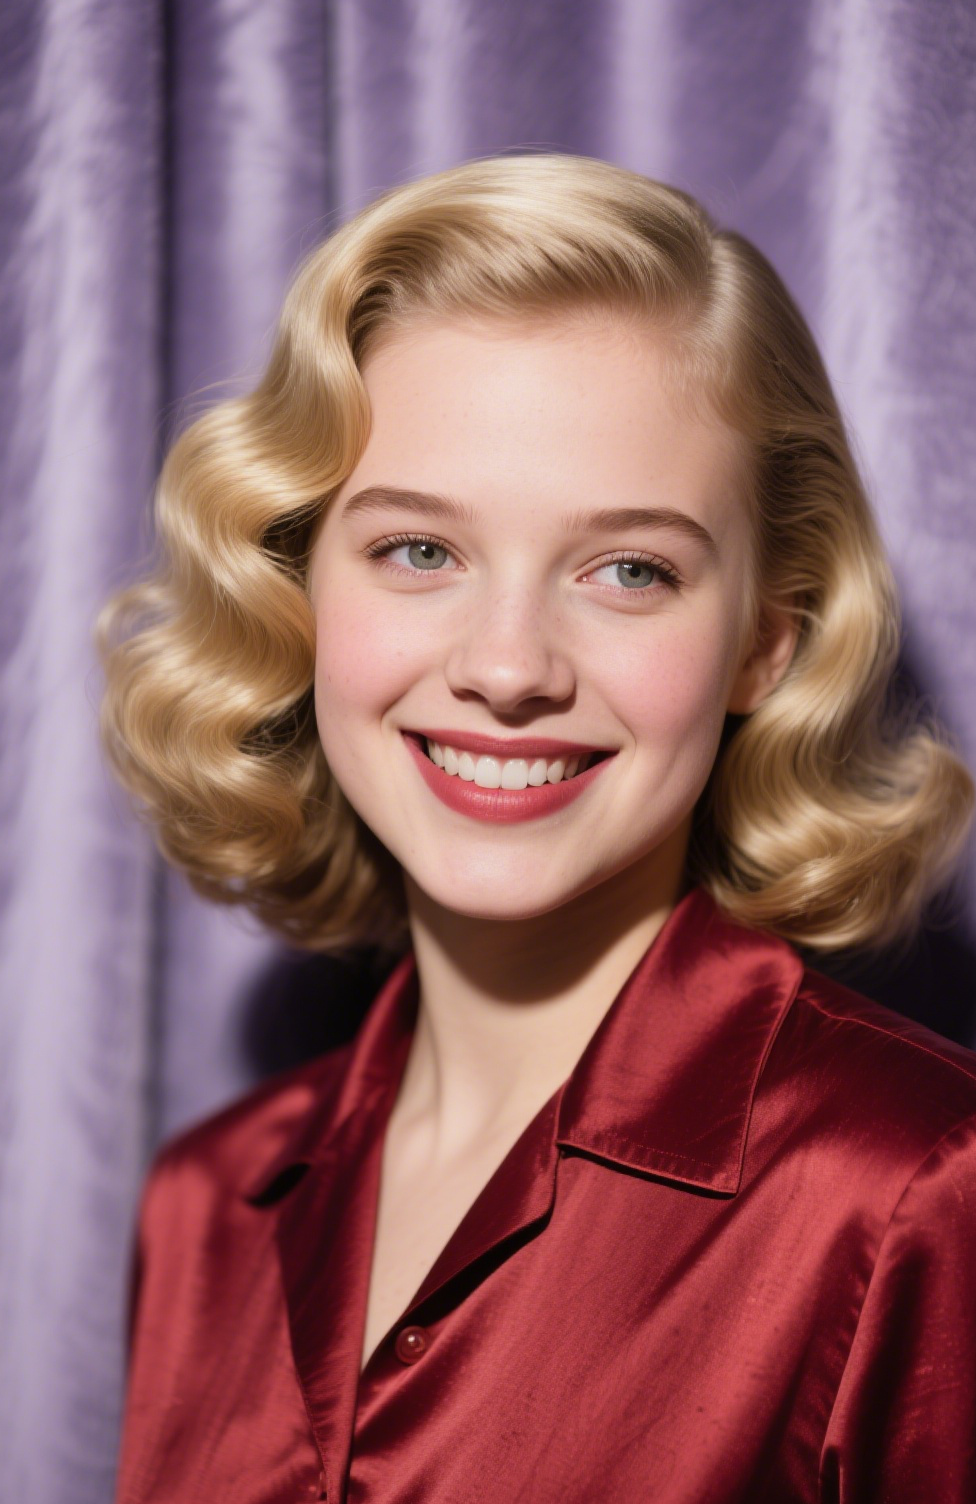
What Are Finger Waves?
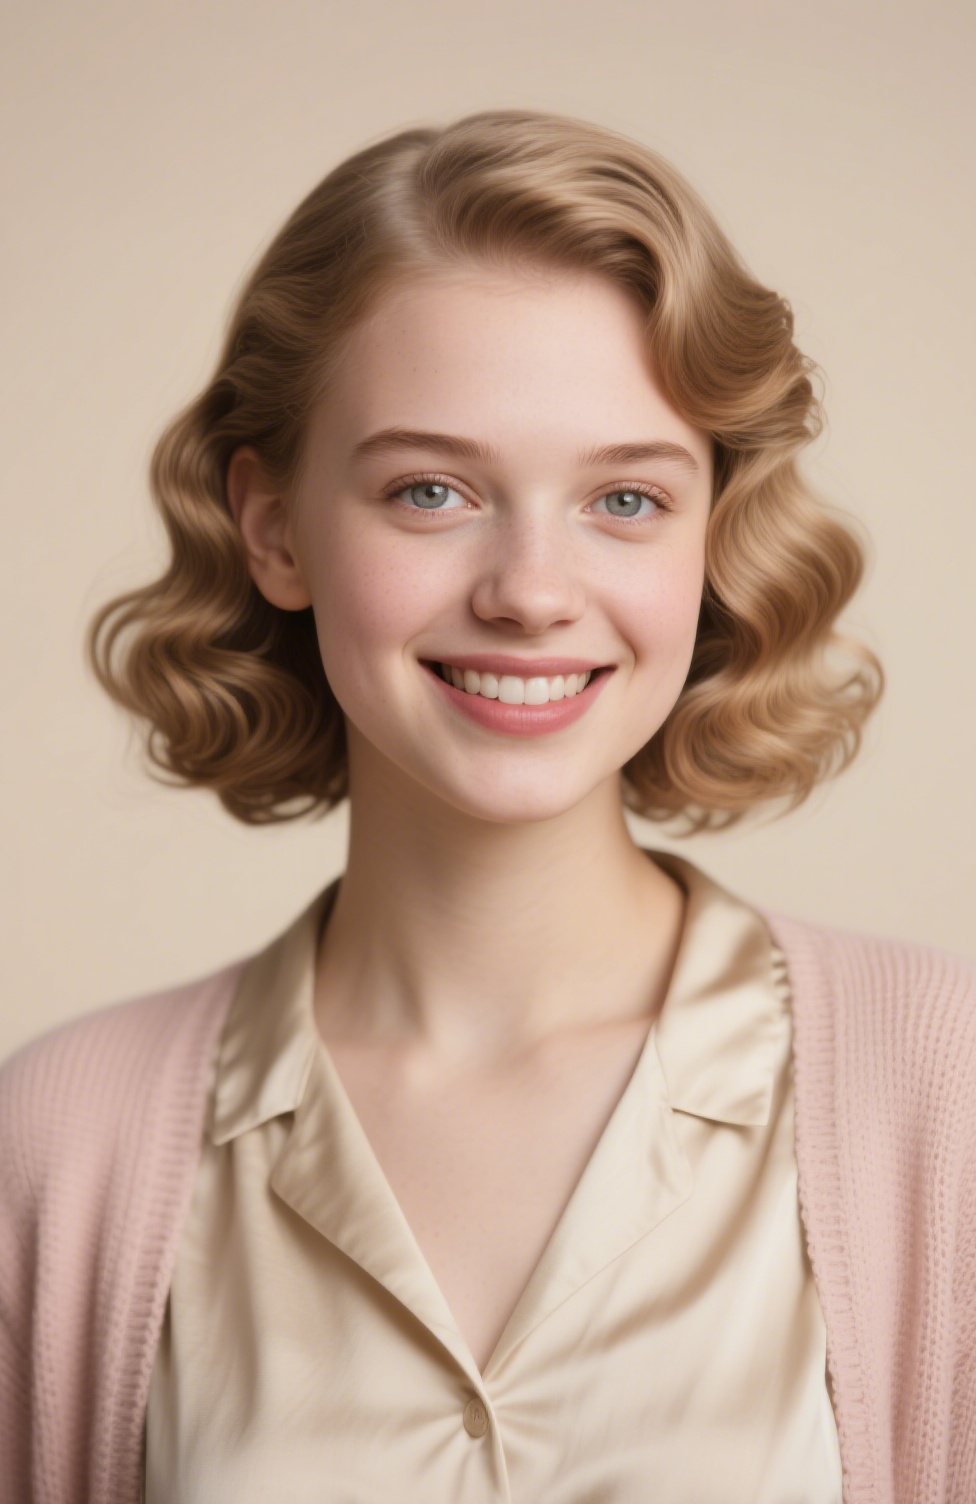
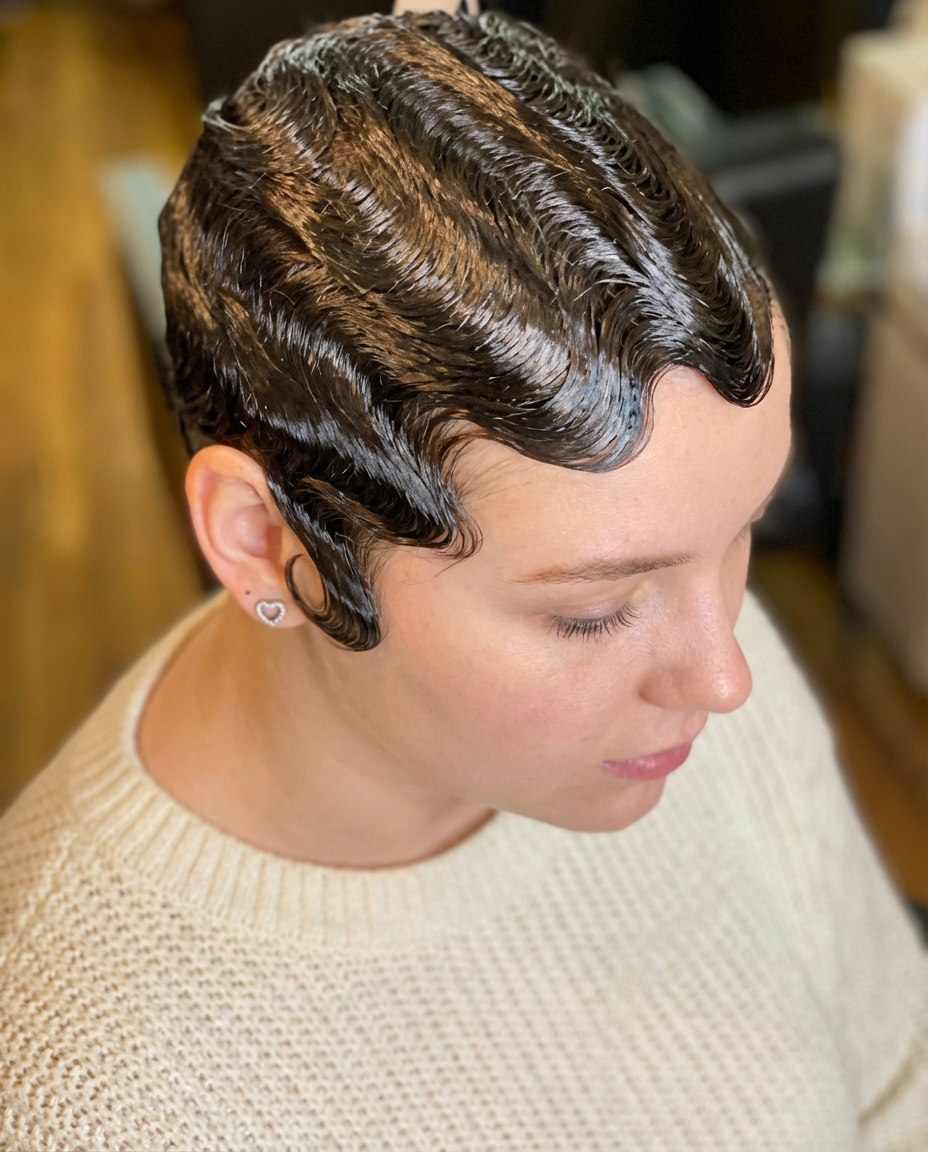
Finger waves are sculpted S-shaped waves created by molding damp hair with your fingers, a fine-tooth comb, and a strong-hold product. Instead of curling irons or wands, you use your hands to pinch ridges into the hair and guide it into a repeating “S” pattern. Metal clips or clamps hold each section in place until it dries and sets.
This technique keeps the hair relatively flat to the head, so the result is sleek, glossy, and architectural rather than bouncy or fluffy. The waves usually sit close to the scalp around the hairline, sides, and crown, though modern versions sometimes extend further down the lengths.
How Finger Waves Differ From Other Wave Styles
- Marcel waves: Created with heated irons invented by François Marcel. They offer more volume and bounce, while classic finger waves stay flatter and more sculpted.
- Deep waves: Often seen on wigs, with larger, more exaggerated curves that run through the full length of the hair.
- Pineapple waves: Use a net technique that creates C-shaped bumps instead of the distinct S pattern.
- Beach waves: Loose, tousled, and usually heat-styled; designed to look undone, whereas finger waves are polished and intentional.
A Short History of Finger Waves
Finger waves first exploded in popularity during the 1920s flapper era, when women were cutting their hair into short bobs as a statement of independence. Those sharp, geometric cuts looked modern but sometimes severe. Finger waves softened the silhouette while still feeling edgy and new, quickly becoming a signature look of the decade.
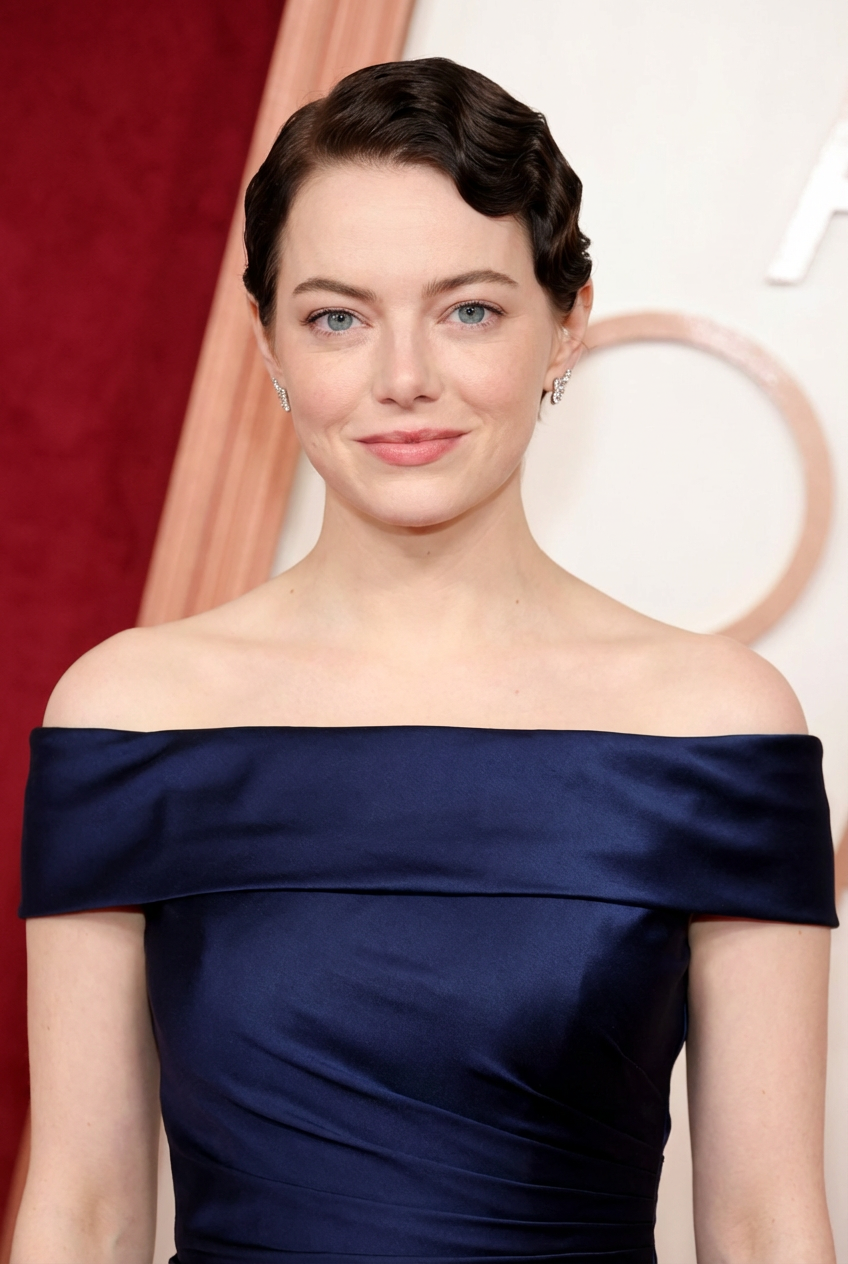
Performers and actresses helped turn the style into a global trend. Iconic entertainers like Josephine Baker wore slick, carefully sculpted waves that became closely tied to modern femininity, nightlife, and glamour. Hollywood stars in the 1930s continued the trend, cementing finger waves as a red-carpet staple.
The style faded for a while before returning in a big way in the 1990s, especially in hip-hop and R&B culture. Artists paired sharply defined waves with bold makeup, metallic fashion, and statement jewelry. Today, finger waves appear on runways, red carpets, and social media, worn by women of all backgrounds as a link between vintage elegance and contemporary creativity.
Why Finger Waves Are Trending Again
Modern audiences love finger waves because they combine:
- Heat-free styling: No irons required, which is appealing if you’re trying to reduce damage.
- Versatility: Works on relaxed, natural, straight, or wavy hair with the right product mix.
- Occasion flexibility: Suitable for weddings, formal events, themed parties, and everyday looks.
- Cultural connection: A style with deep roots in Black hair culture, vintage fashion, and pop culture history.
- Beginner-friendly potential: The learning curve is real, but once you understand the rhythm of the S‑shape, you can practice at home.
Tools and Products You’ll Need
You don’t need a full salon setup to start experimenting, but a few tools make a big difference:
- Fine-tooth comb: Essential for carving crisp ridges.
- Rat-tail comb: For clean parts and sectioning.
- Strong-hold gel or setting lotion: The backbone of any finger wave; look for formulas that dry firm but not flaky.
- Mousse or leave-in conditioner: Adds moisture and slip, especially on naturally curly or coily hair.
- Duckbill or wave clips: Hold the ridges and troughs in place while the hair sets.
- Hairspray or setting spray: Optional, for extra hold once everything is dry.
- Hooded dryer or diffuser: Speeds up drying, though air drying also works if you have time.
Step-by-Step: How to Do Finger Waves
The fundamentals are the same whether your hair is straight, wavy, relaxed, or natural. Adjust product amount and drying time based on your texture and density.
1. Prep Your Hair
Start with clean, detangled hair. Use a moisturizing shampoo and conditioner, then apply a leave‑in or lightweight cream if your hair tends to be dry. Hair should be damp, not soaking wet—too much water will dilute your products, while hair that’s too dry will be hard to mold.
Gently comb your hair in the direction you want it to lay, usually smooth and close to the head.
2. Apply Product Evenly
Work strong‑hold gel or setting lotion through each section from roots to ends. Focus on the areas where you want the most definition—typically the hairline, sides, and crown.
Make sure every strand is coated but not overloaded. You want enough slip to move the hair easily while still having the structure to hold the S‑shape.
3. Create Your Part
Most beginners find a deep side part easiest because it naturally creates more drama and face-framing waves. Use the rat-tail comb to draw a clean, straight line. Comb hair on either side of the part in the direction you want it to lay before you start sculpting.

4. Form the First Wave
Working on one side of the part, place the fine-tooth comb into the hair a short distance from the hairline. Push the comb forward while your opposite finger holds the hair in place, creating a small ridge. Pinch that ridge gently between your fingers to define it.
Then, move the comb slightly back in the opposite direction to shape the trough of the wave. Repeat the motion—ridge, trough, ridge—until you’ve created your first full S-shaped pattern. Place clips along the ridges to lock them in place.
5. Continue Around the Head
Repeat the same pattern, moving section by section:
- Keep your spacing consistent for a uniform look.
- Use more gel on sections that start to dry out.
- Check the profile and back with a mirror to keep the waves flowing in a cohesive direction.
On the opposite side of the part, mirror the pattern so both sides frame the face harmoniously.

6. Dry Completely
Let your hair dry 100% before removing clips. You can:
- Sit under a hooded dryer for 30–45 minutes, or
- Air dry for several hours (or overnight), depending on thickness and product.
Resist the urge to touch or adjust the waves while they set—movement before the hair is dry is the most common reason waves fall flat.
7. Finish and Detail
Once dry, carefully remove each clip. Use a small amount of oil or serum on your fingertips to smooth any frizz without breaking the pattern. Lightly mist with hairspray if you need extra longevity, especially for events.
Adapting Finger Waves for Different Hair Types and Lengths
Finger waves are highly adaptable; the key is adjusting technique and product.
Natural or Coily Hair
On coily or very textured hair, finger waves can double as a protective style:
- Use a rich leave‑in and gel that combines hold with moisture.
- You may find it easier to stretch the hair slightly with a blow‑dryer on low heat before waving, while still avoiding direct hot tools.
- Focus on the hairline and crown, leaving the back either waved or shaped into a short crop or bun.
Relaxed or Straight Hair
On relaxed or naturally straight hair, you’ll rely heavily on gel and precise comb work:
- Start with slightly drier hair than you would for curls so the gel isn’t too diluted.
- Use more clips to lock every ridge, especially if your hair wants to “bounce back” straight.
- A setting spray at the end can help the style last through humidity and movement.
Short vs. Long Hair
- Short hair: Ideal for classic, sculpted waves that sit close to the head and highlight facial features.
- Medium to long hair: You can wave the front, sides, and crown while leaving the lengths in a low bun, chignon, or brushed-out soft waves. This hybrid approach gives you vintage detail in front and versatility in back.

How to Make Finger Waves Last
With good prep, finger waves typically last 3–7 days:
- Sleep on a satin pillowcase and use a satin scarf or bonnet to keep the pattern smooth.
- Avoid heavy products on top of the set, which can weigh the waves down.
- To refresh, lightly mist with water, apply a thin layer of gel where needed, and re‑shape only the sections that have softened.
If the style has fully relaxed, it’s usually easier to start fresh than to fight the old pattern.
Common Mistakes to Avoid
- Too much water, not enough product: Leads to soft, mushy waves that don’t hold.
- Impatience while drying: Removing clips early almost guarantees frizz and collapsed ridges.
- Over‑combing: Once the S‑shape is formed, avoid combing through the wave or you’ll lose definition.
- Ignoring hair health: Even though the style is heat‑free, make sure you’re still deep-conditioning regularly so your hair can handle gel and manipulation.
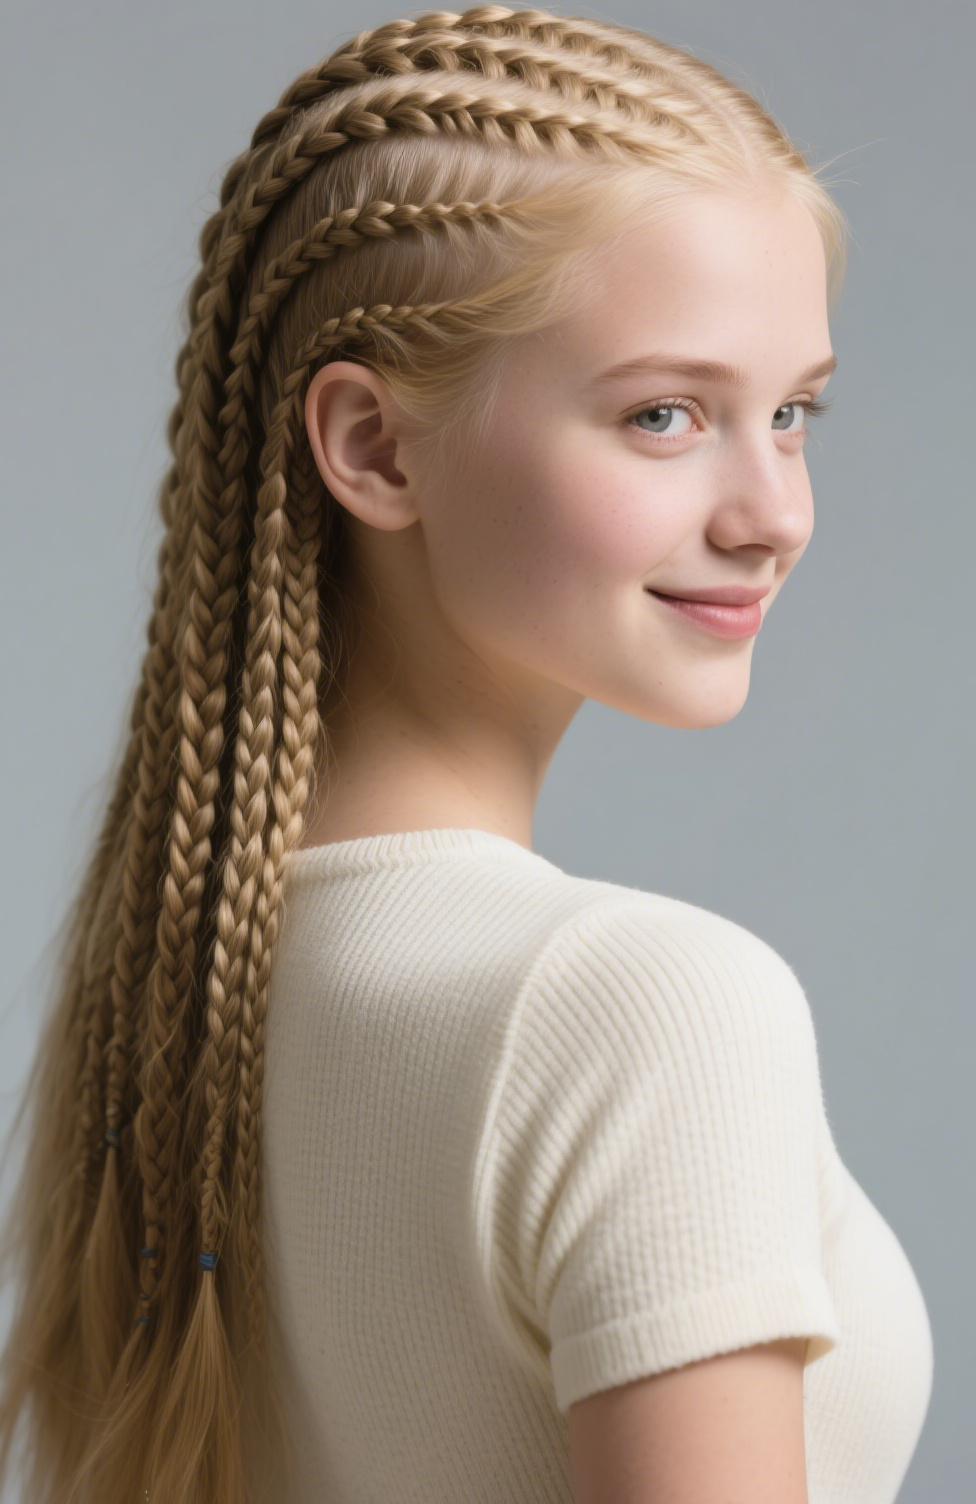
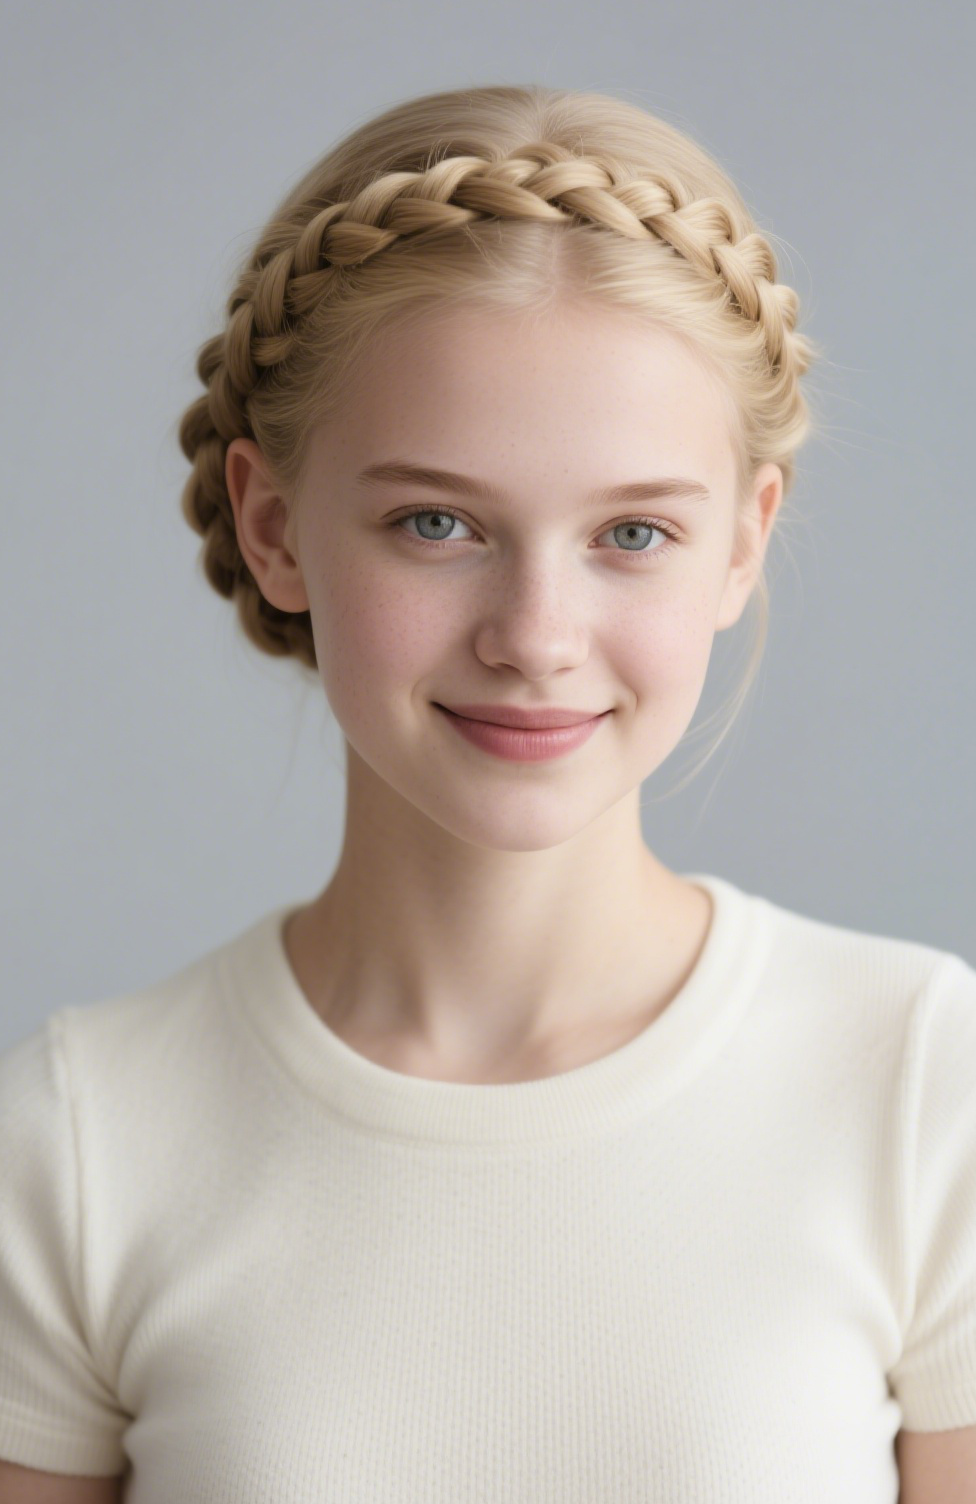
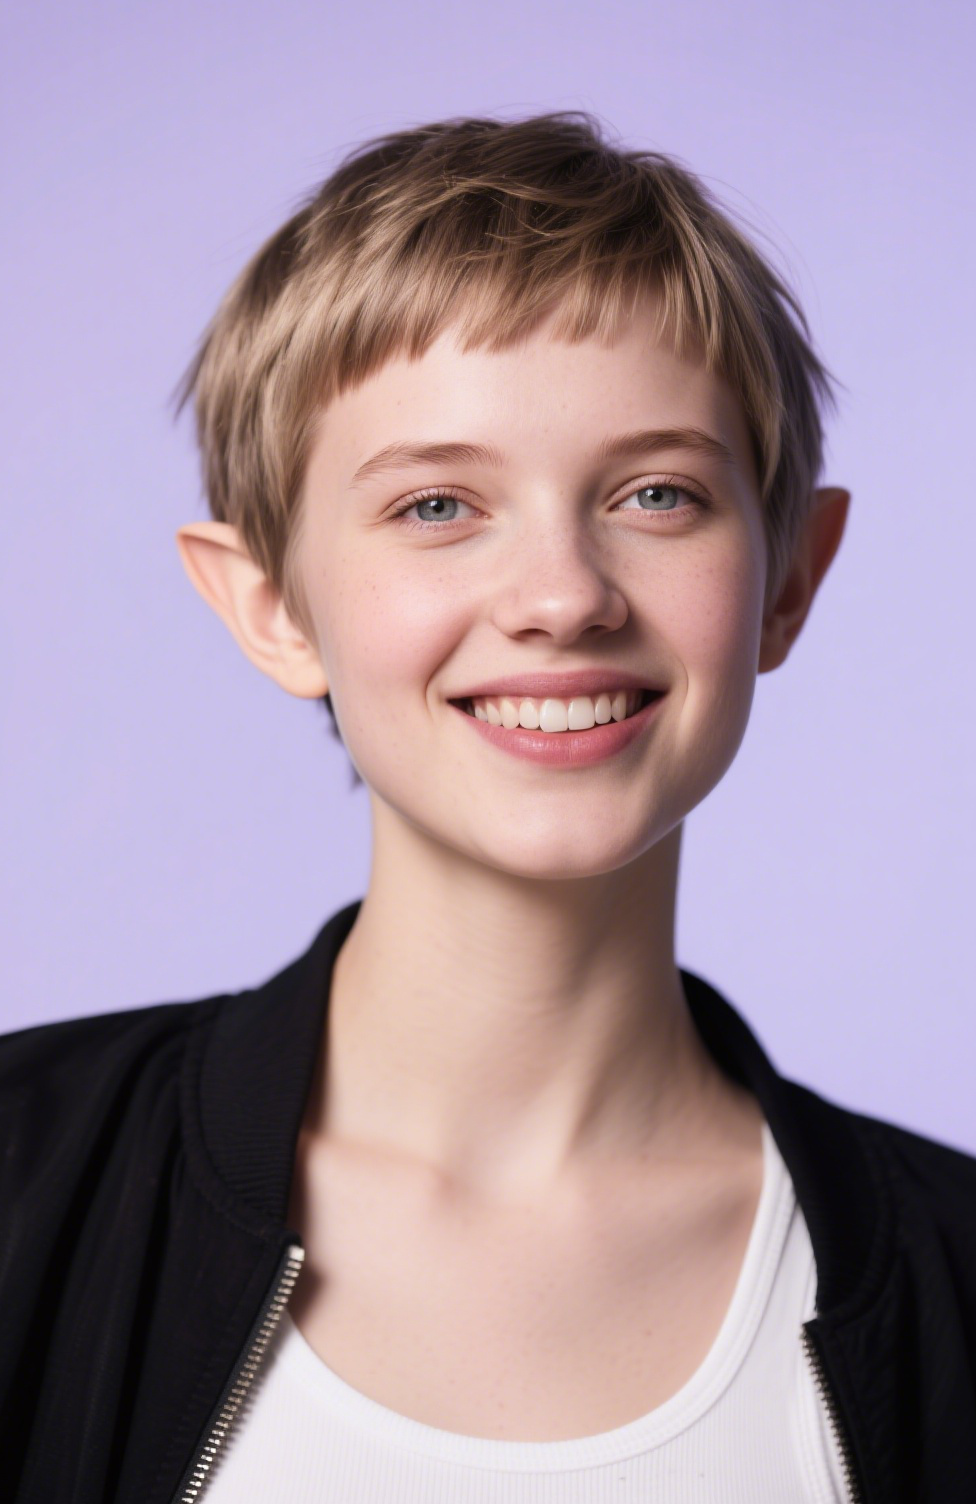
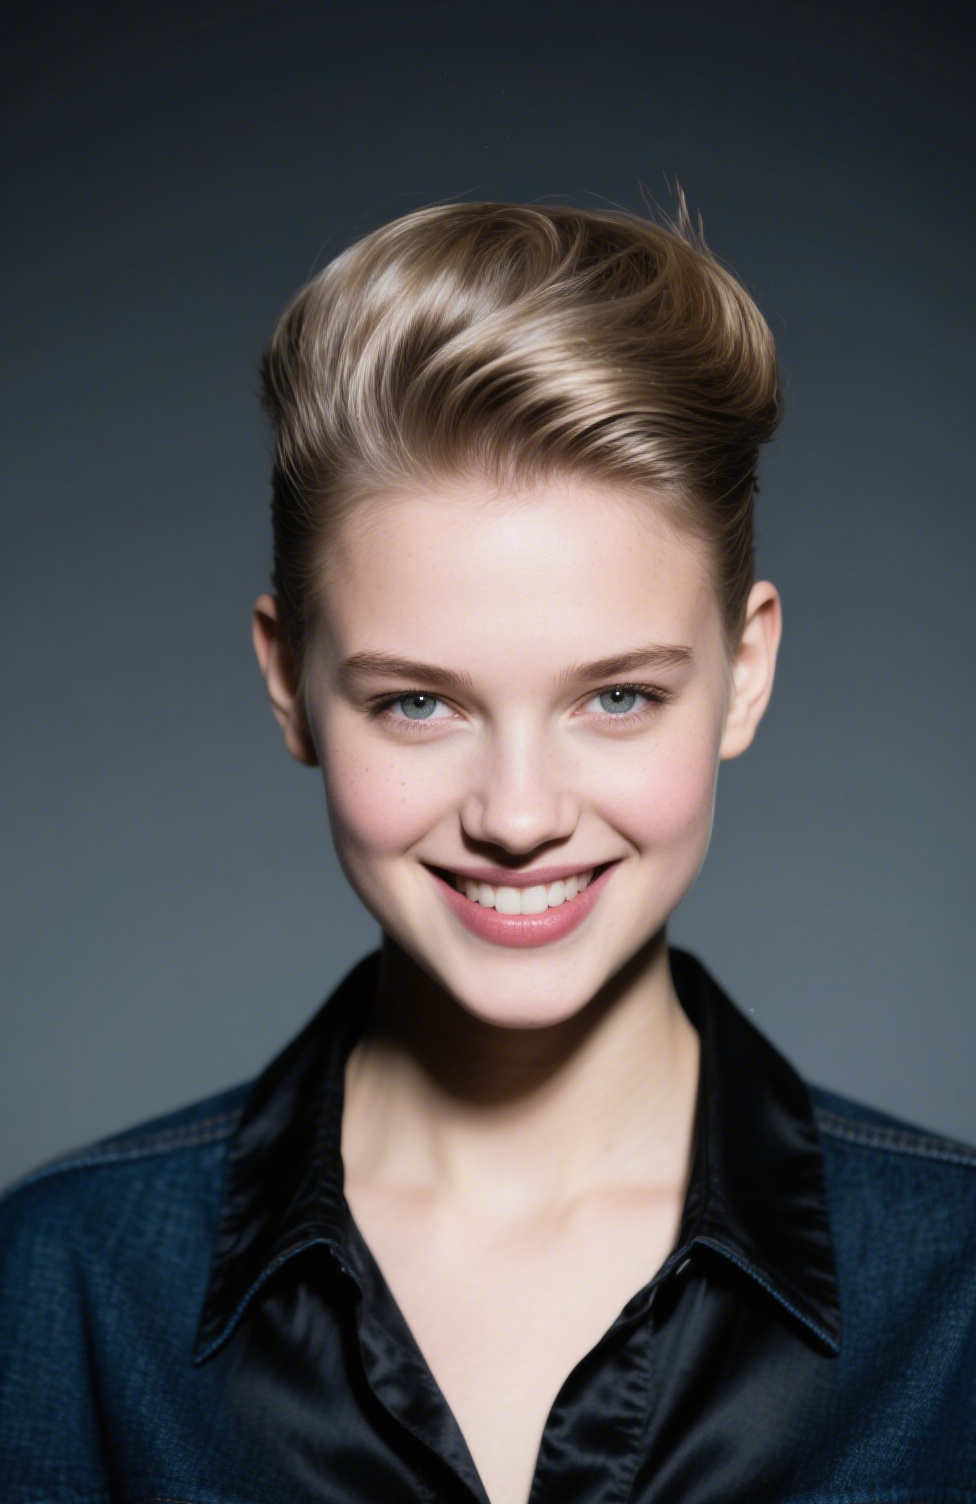
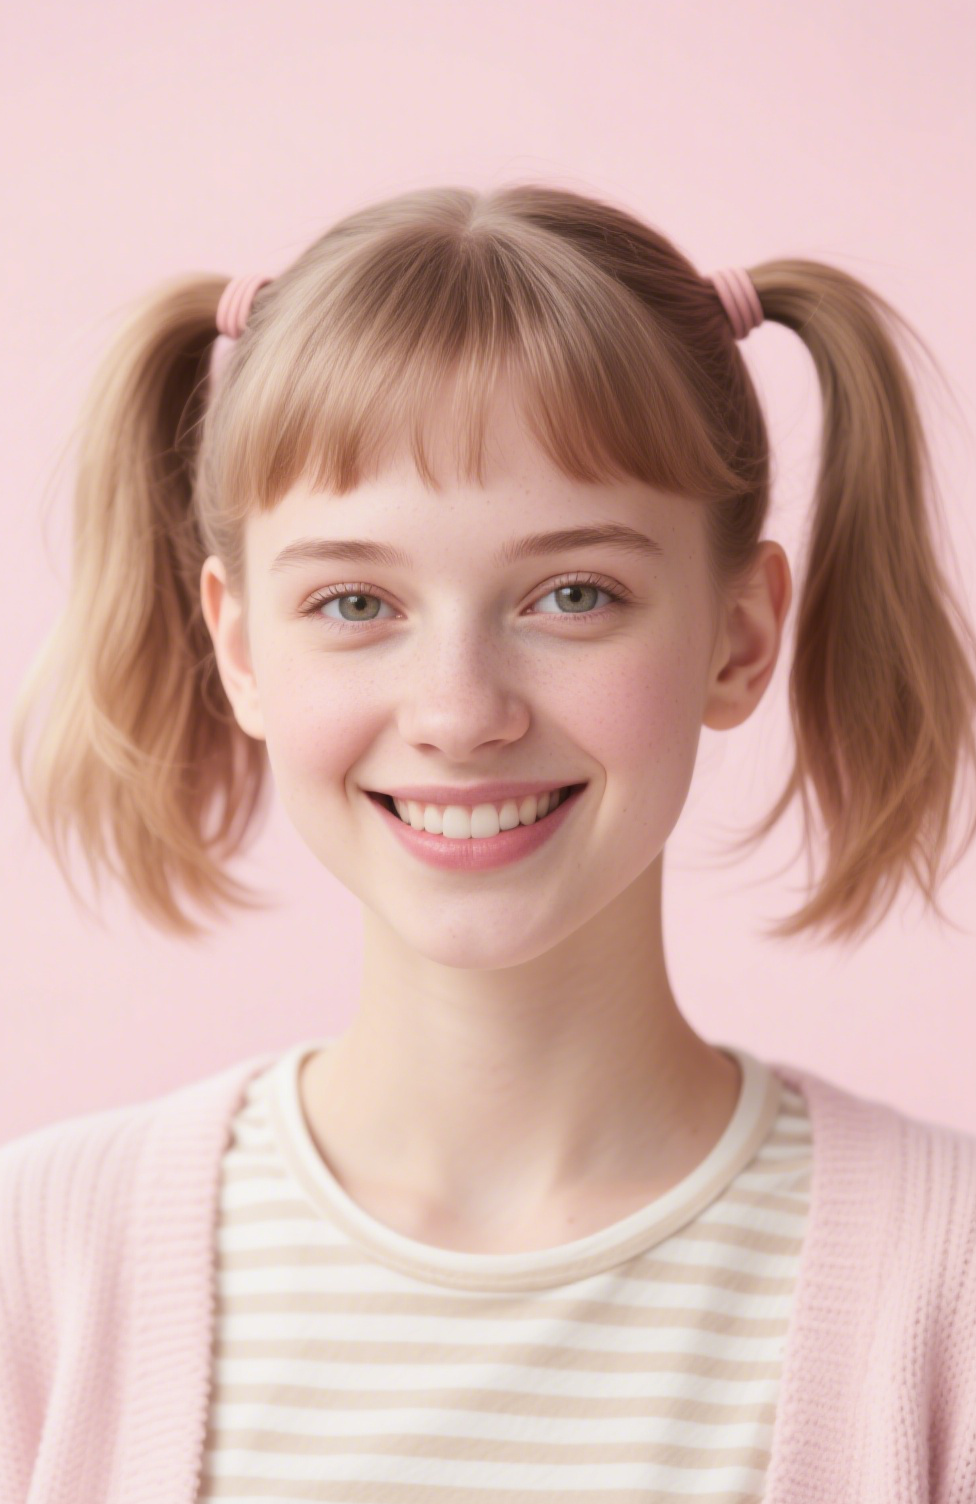
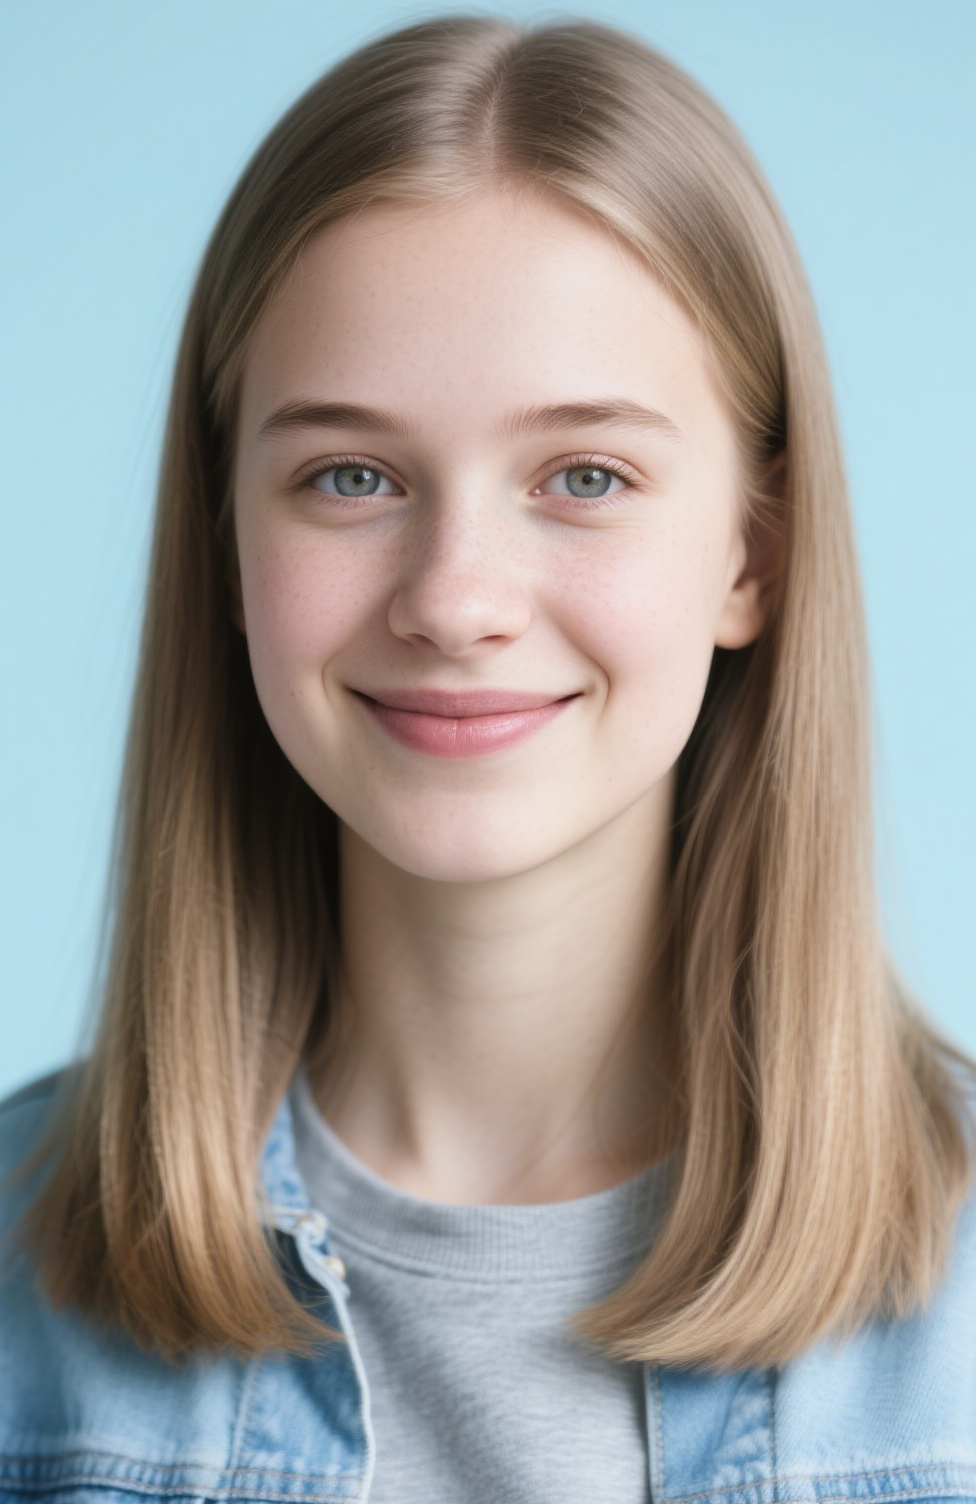
Try Finger Waves Virtually With BlondeFilter
Thinking about finger waves for a big event but not sure how they’ll look on you? Before booking a salon appointment or trying the full tutorial at home, you can preview the style with our AI tool.
- Upload your photo and instantly see how different versions of finger waves—soft, sculpted, vintage, or red‑carpet inspired—look on your face shape.
- Adjust length and parting to match your current haircut or a cut you’re considering.
- Save or share your favorite looks to show your stylist or friends.
Once you’re ready, explore stylists in your area who specialize in finger waves, or build a custom at‑home product kit with gels, combs, and clips tailored to your hair type and budget.
Final Thoughts
Finger waves are more than a nostalgic throwback. They’re a bridge between decades of style history and the creativity of today, offering a sophisticated, photo-ready look that doesn’t rely on hot tools. Whether you’re planning a themed party, wedding, or simply want to switch up your usual routine, this technique gives you a polished way to experiment.
Take your time, practice the S‑shaped motion, and don’t be discouraged if the first attempt isn’t perfect. Each round teaches your hands a little more of the rhythm. And if you want a shortcut to visualizing the end result, let BlondeFilter’s AI hairstyle try-on help you picture your ideal finger waves before you sit down with the comb and clips.