Crown Braid Tutorial | BlondeFilter AI Hairstyle Try-On
Learn crown braid basics, variations, and hair-type tips, then preview the style on yourself with BlondeFilter's AI try-on.


Click or drag photos here to upload
Supports JPG, PNG formats, max 5MB, JPEG format recommended


Choose your preferred style, then upload and process your photo on the left
The crown braid is a timeless braid that wraps around your head like a halo, balancing elegance with practicality. It works for short, medium, or long hair; straight, wavy, curly, or coily textures; and it flexes from casual days to black-tie events. This guide distills the research, SERP insights, and existing article into one concise, confidence-building playbook so you can master the look and tailor it to your hair and lifestyle.
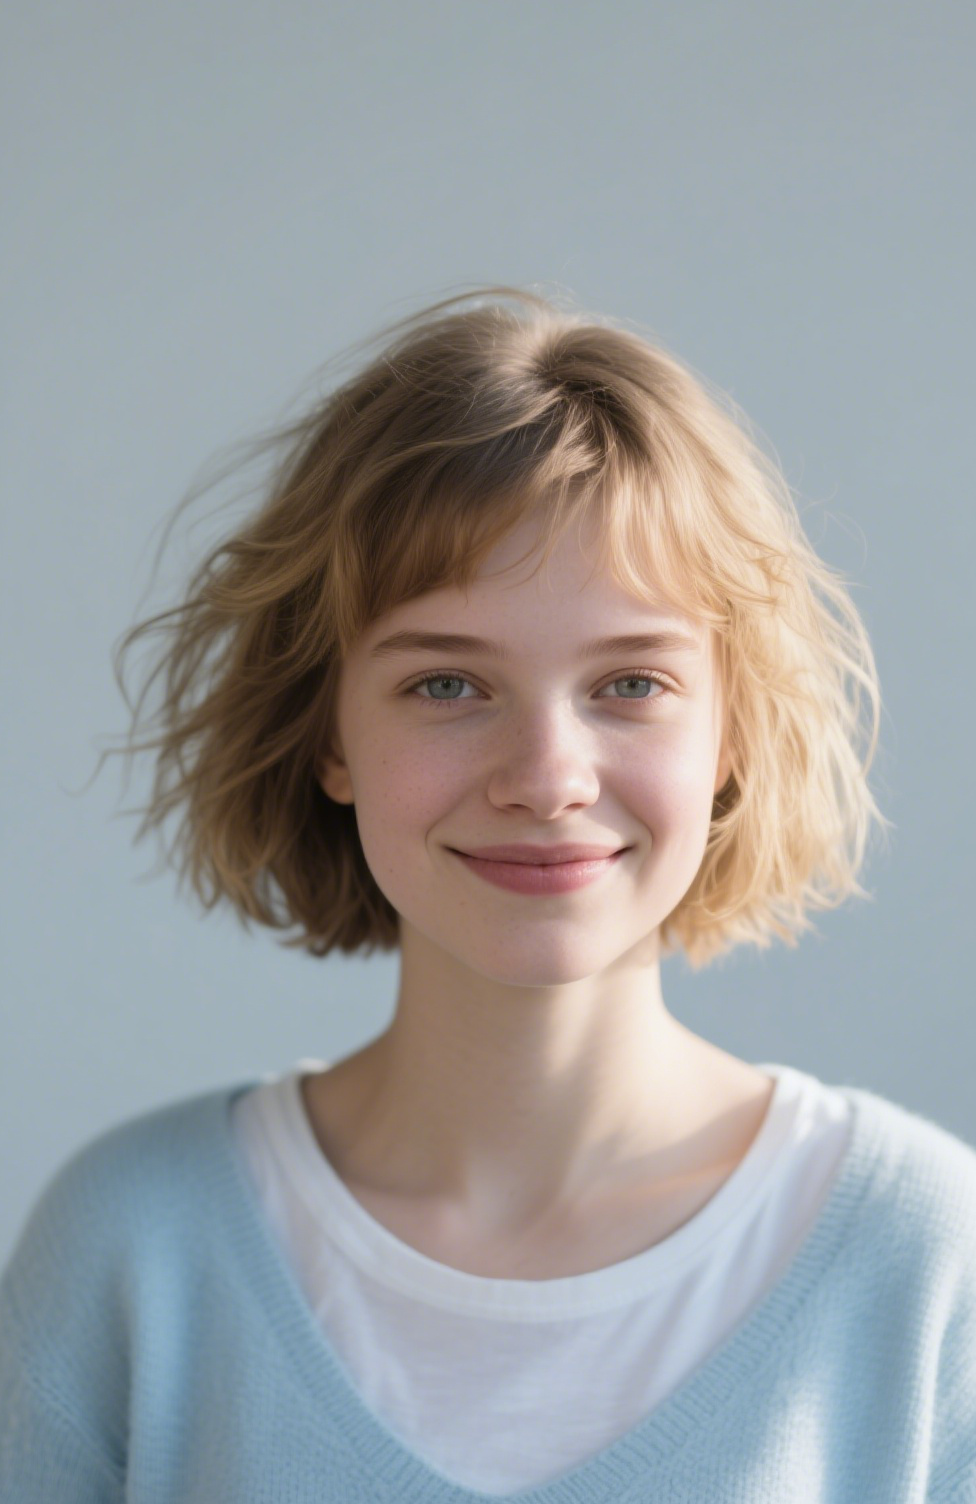
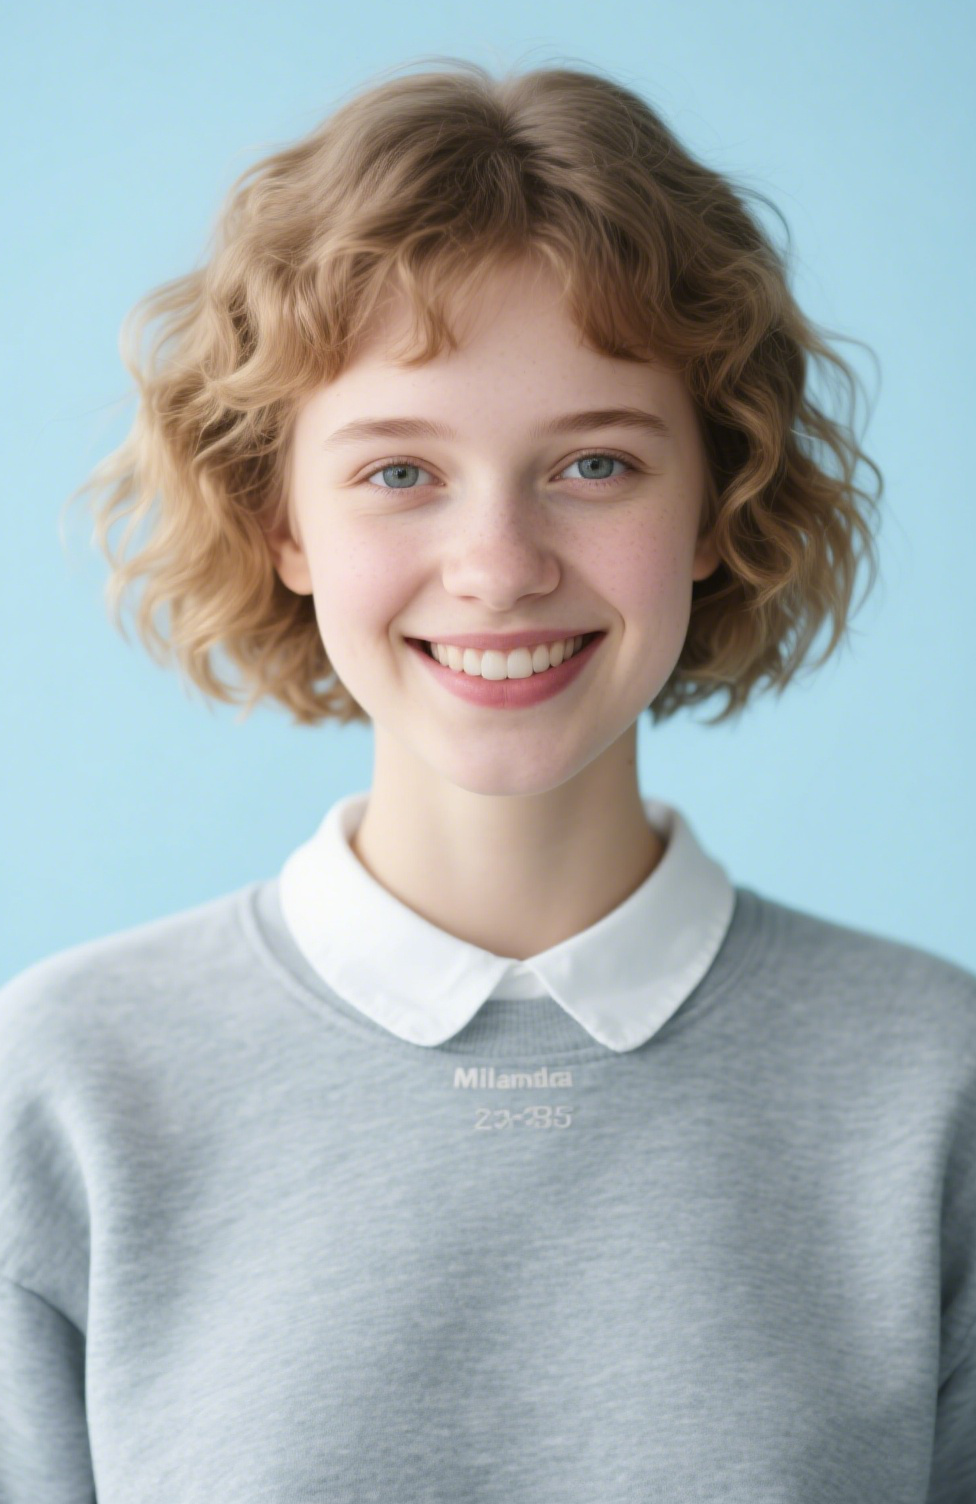
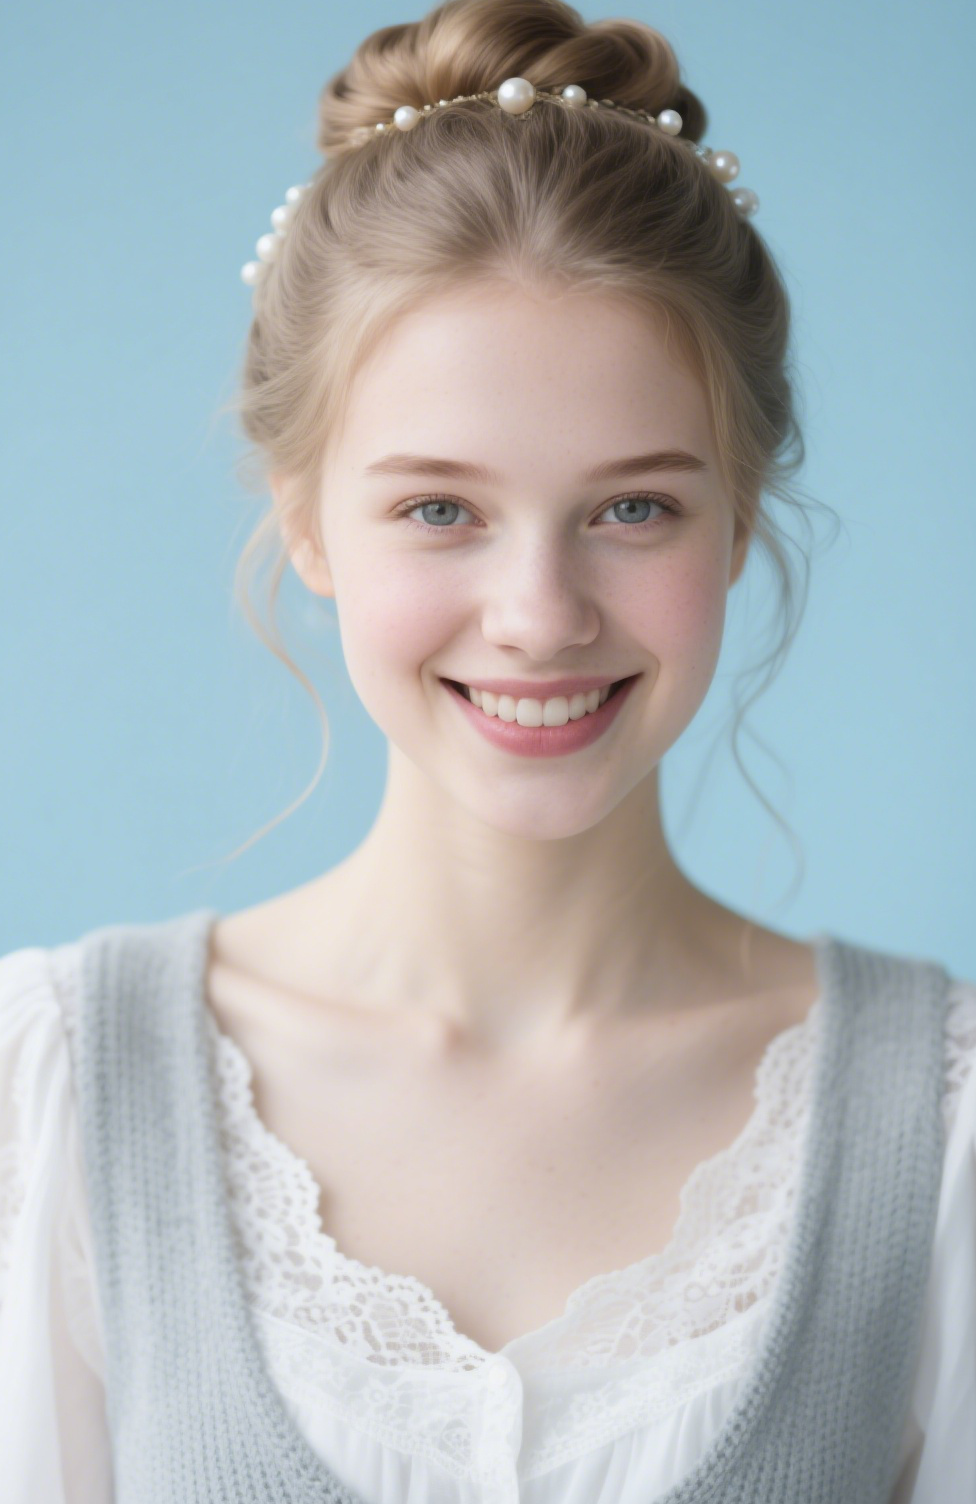
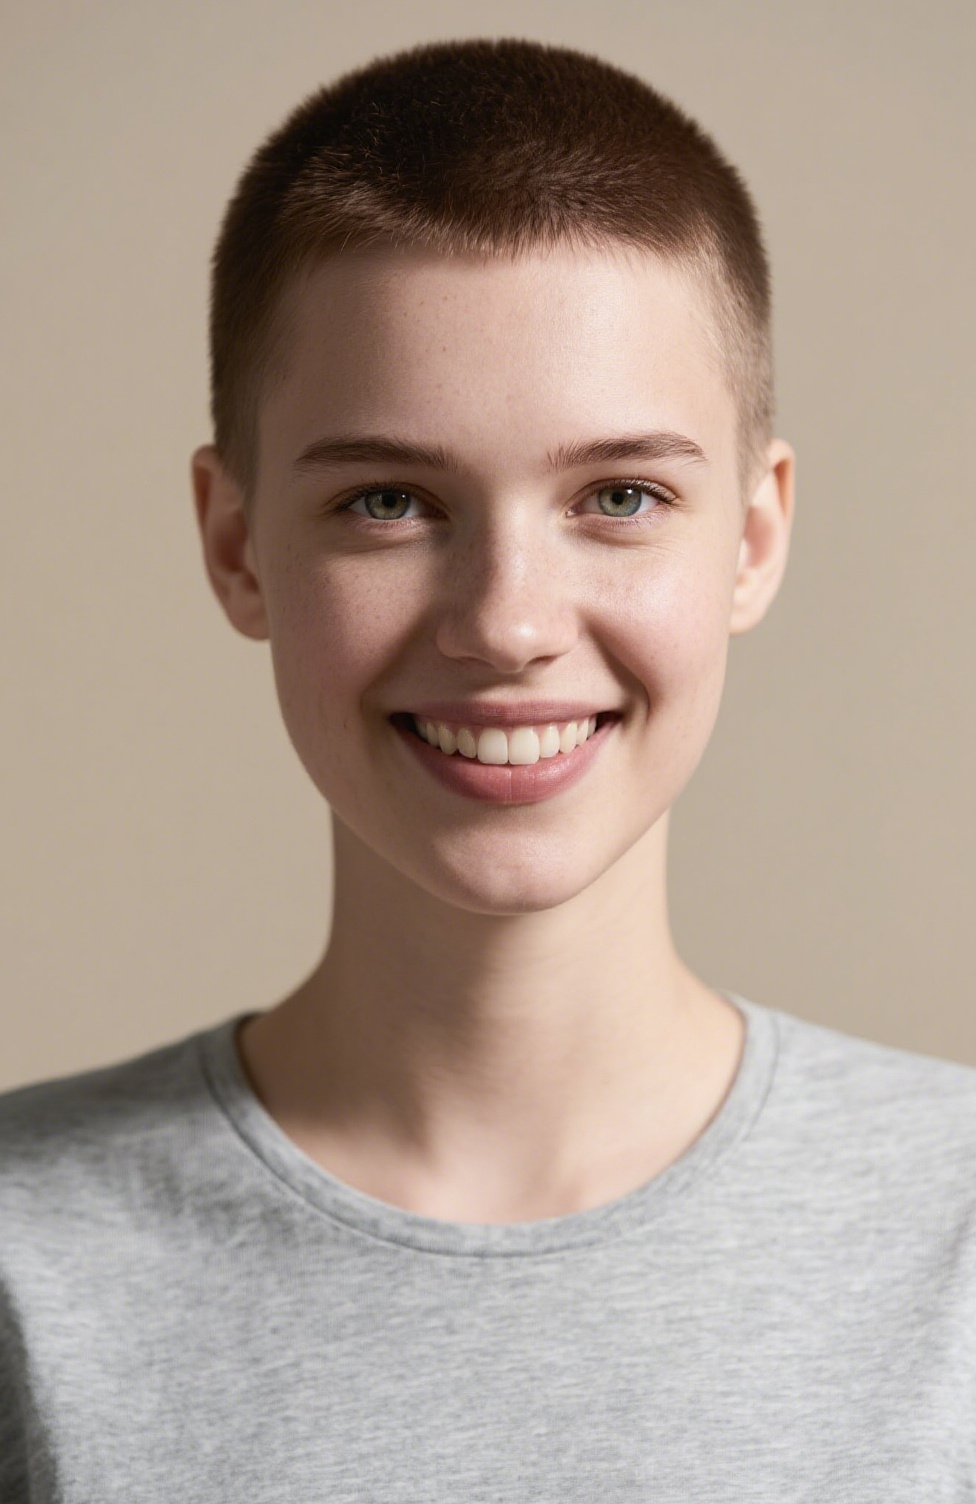
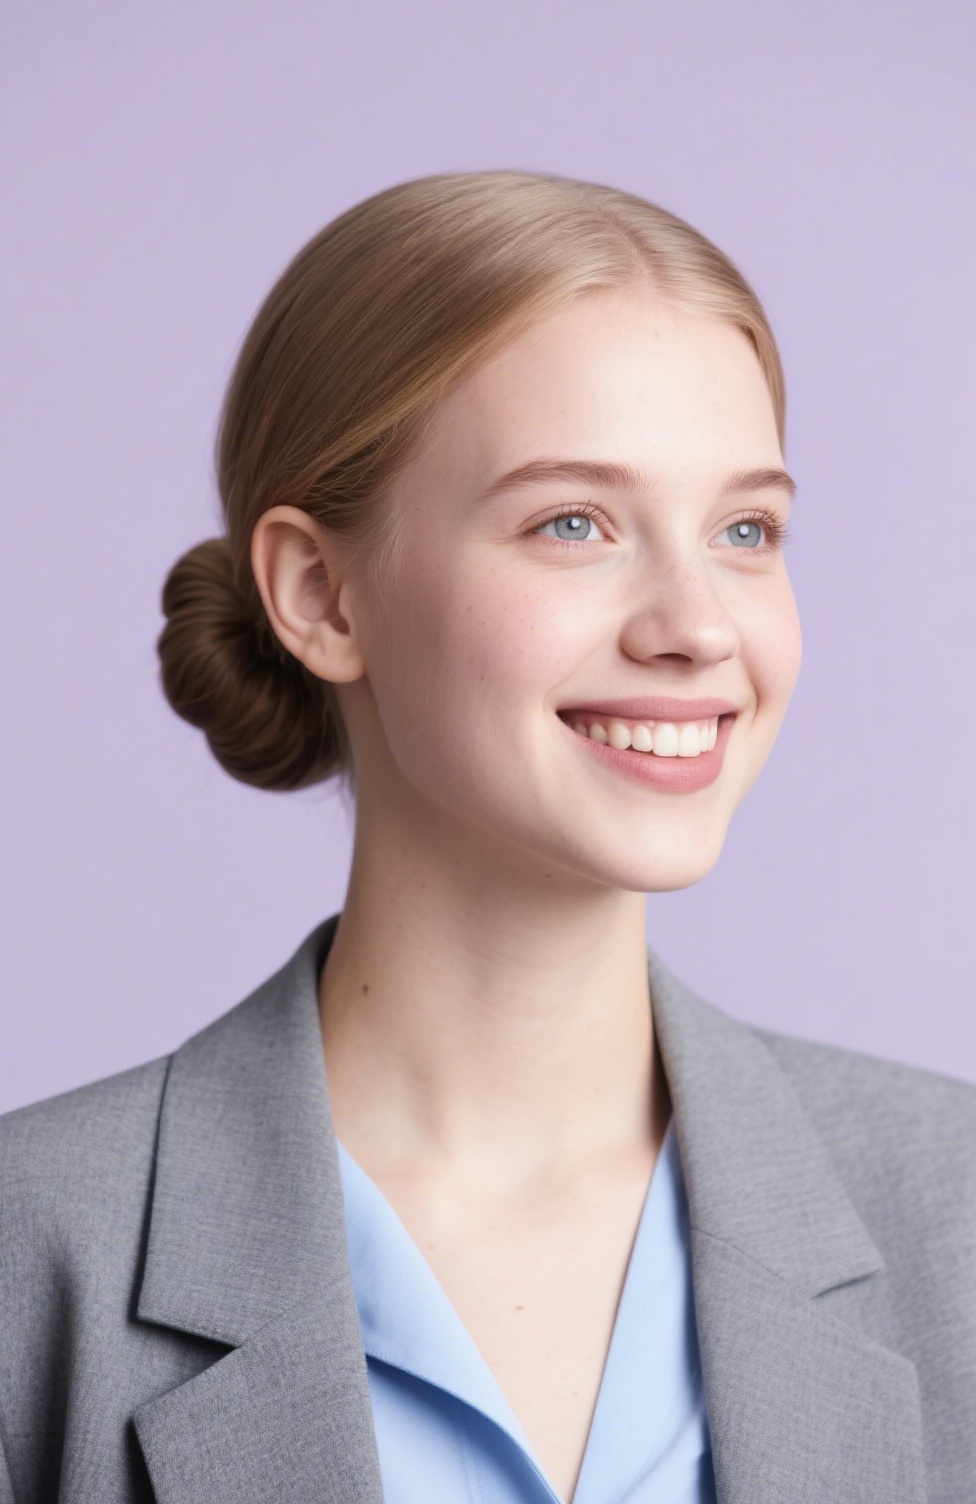
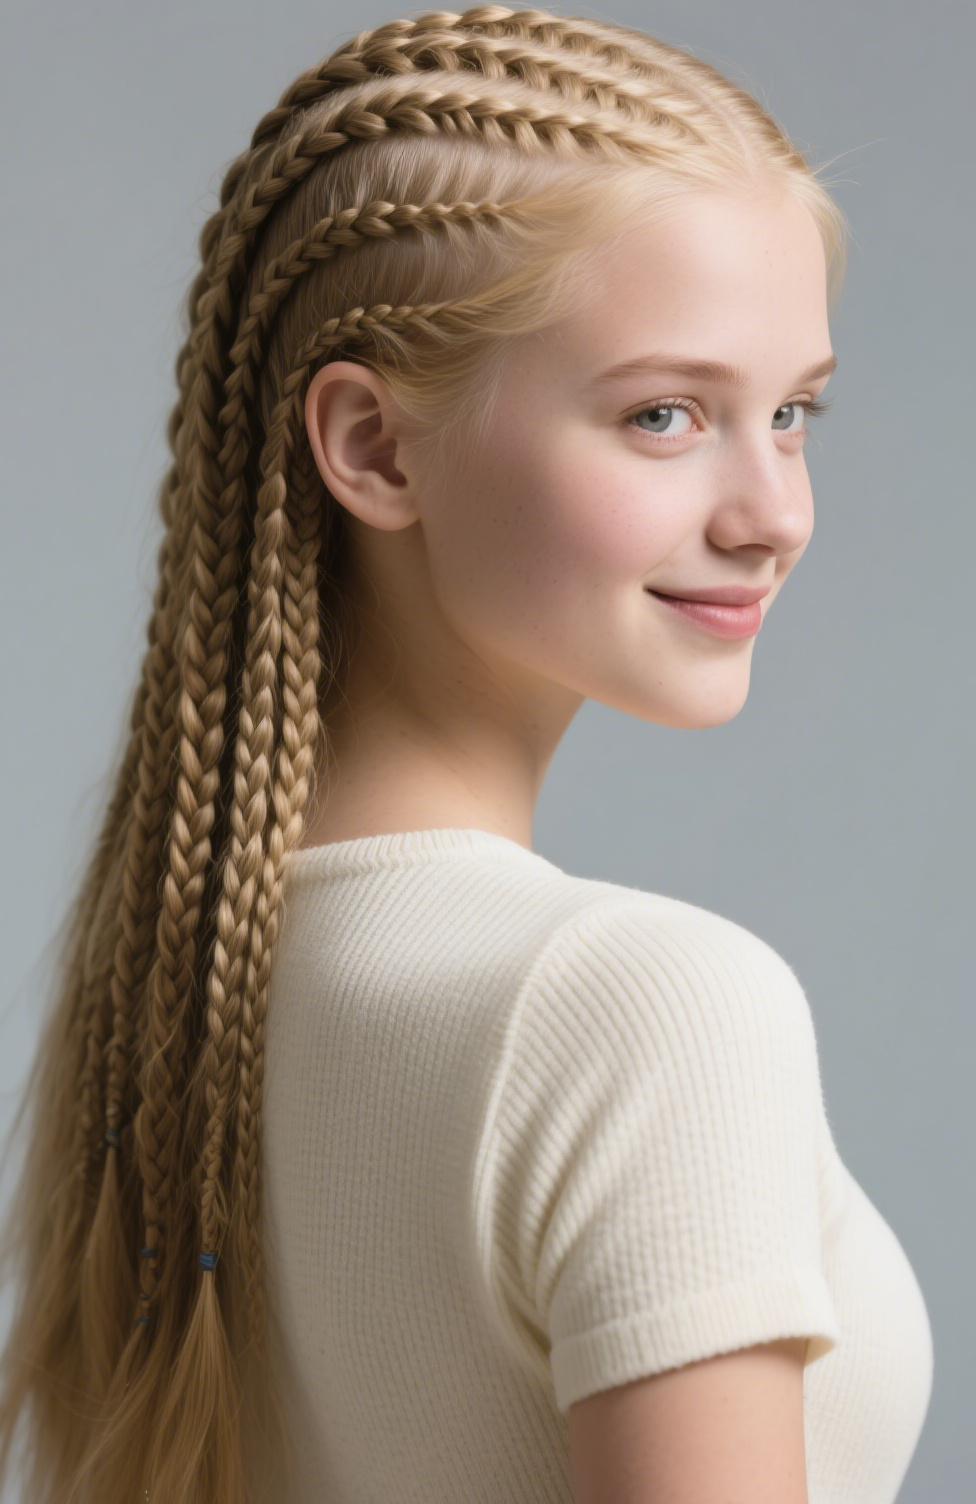
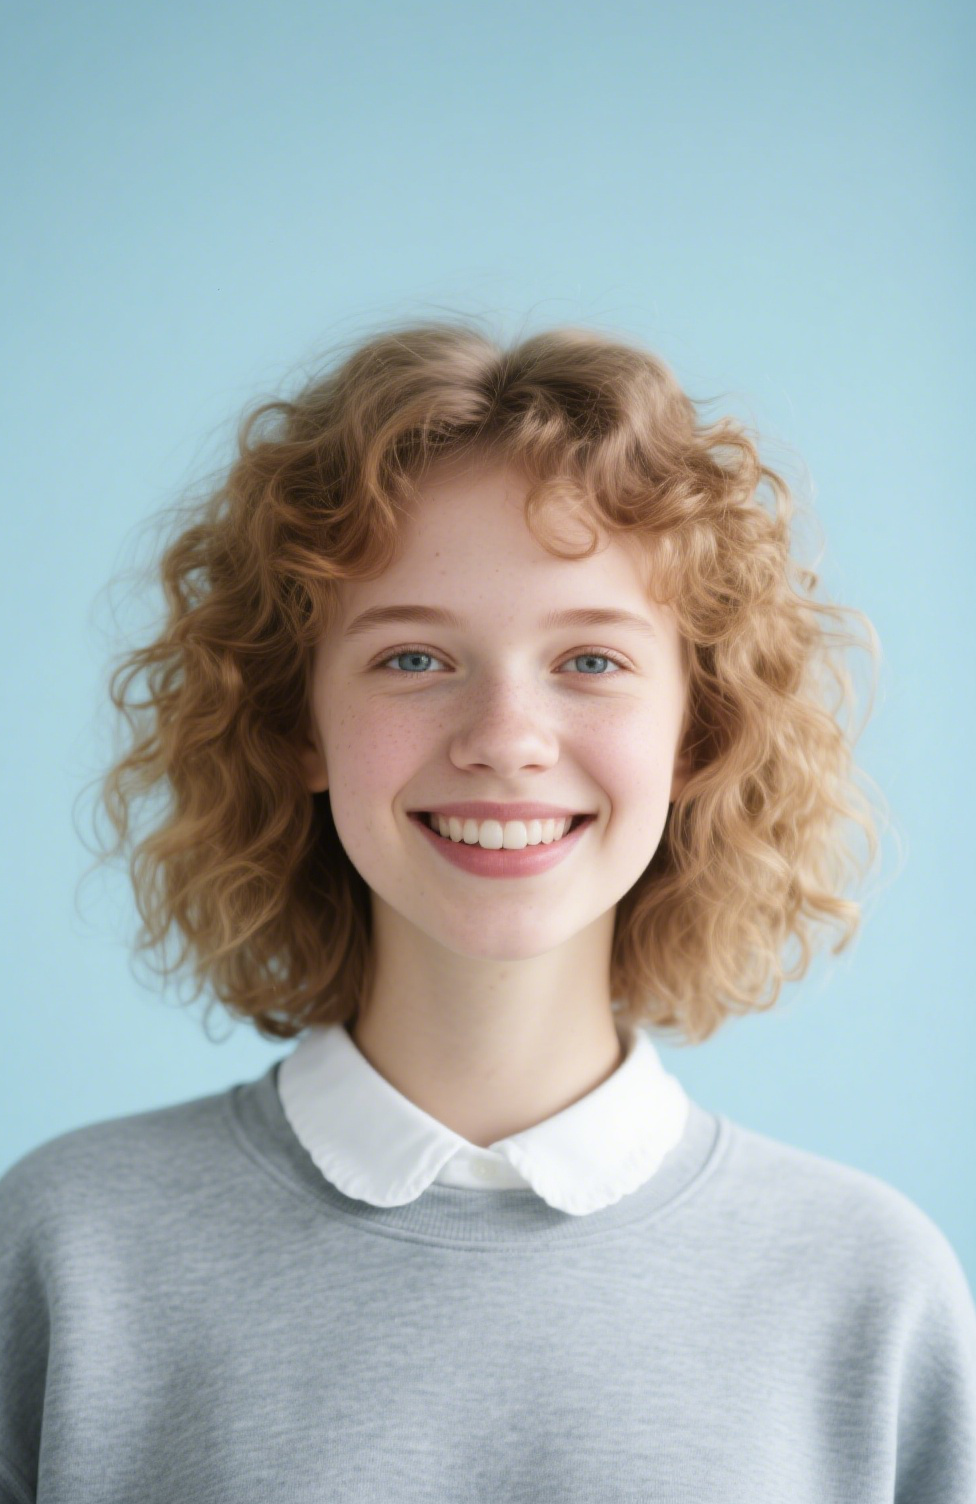
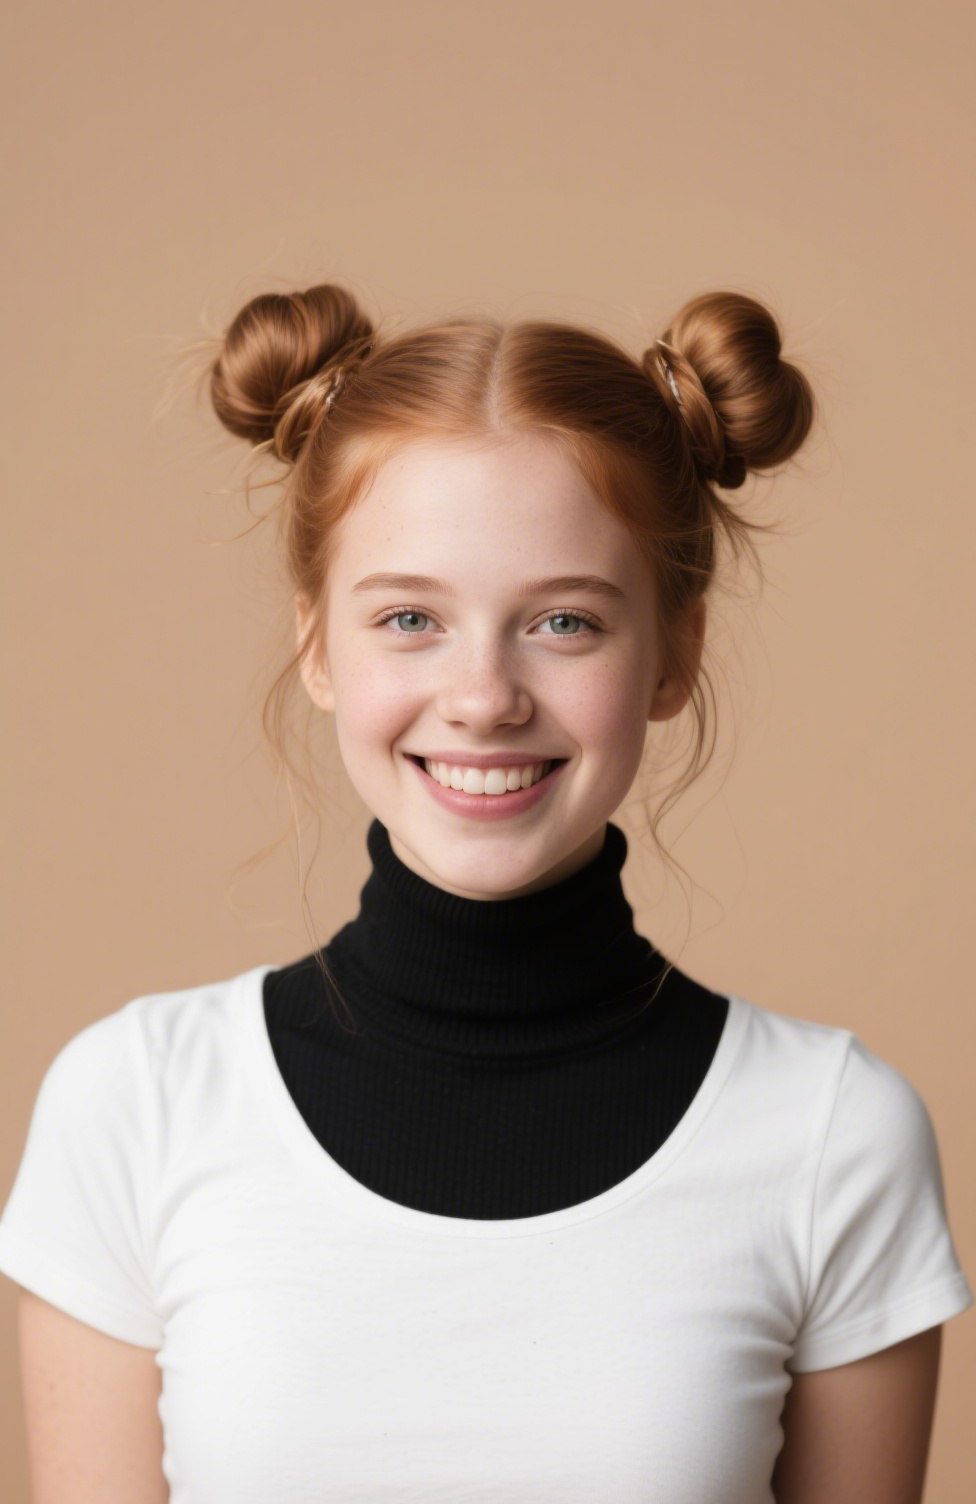
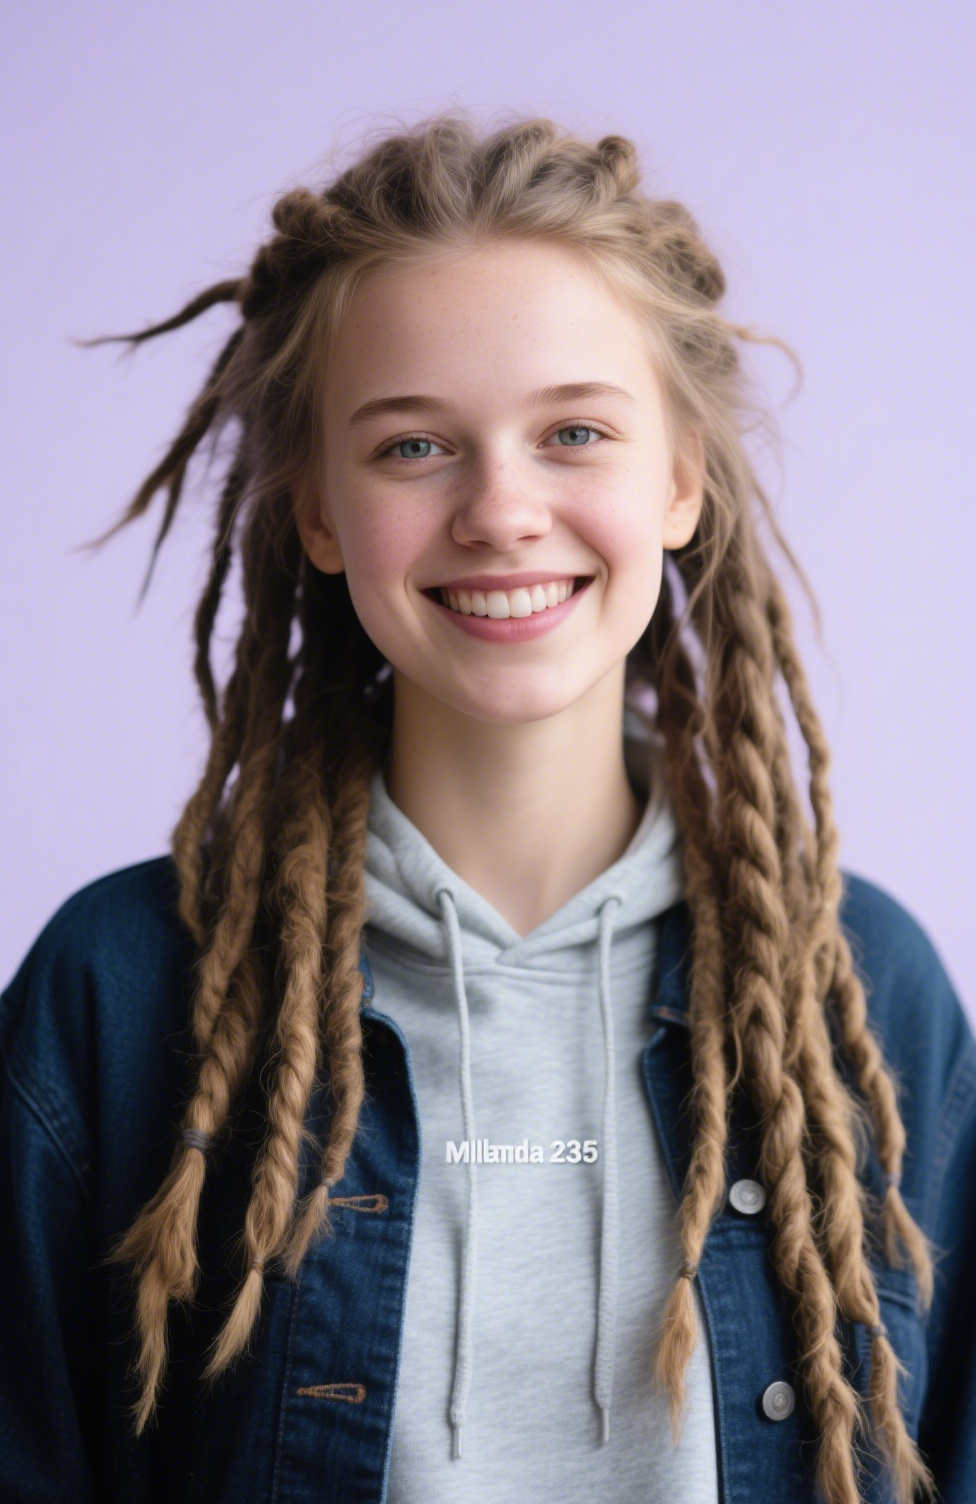
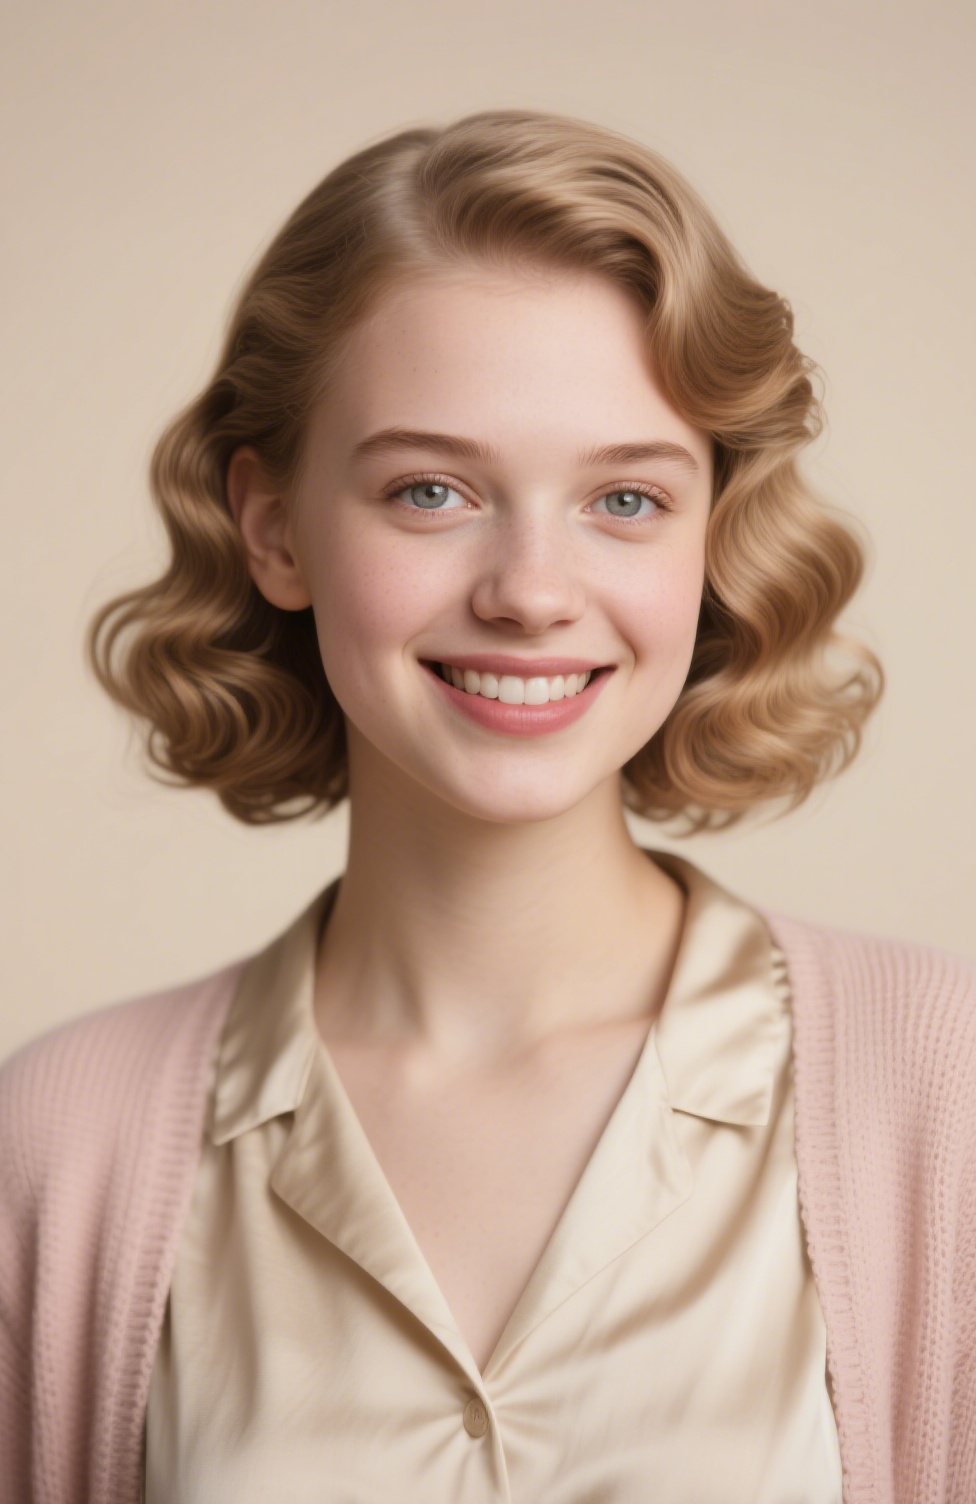
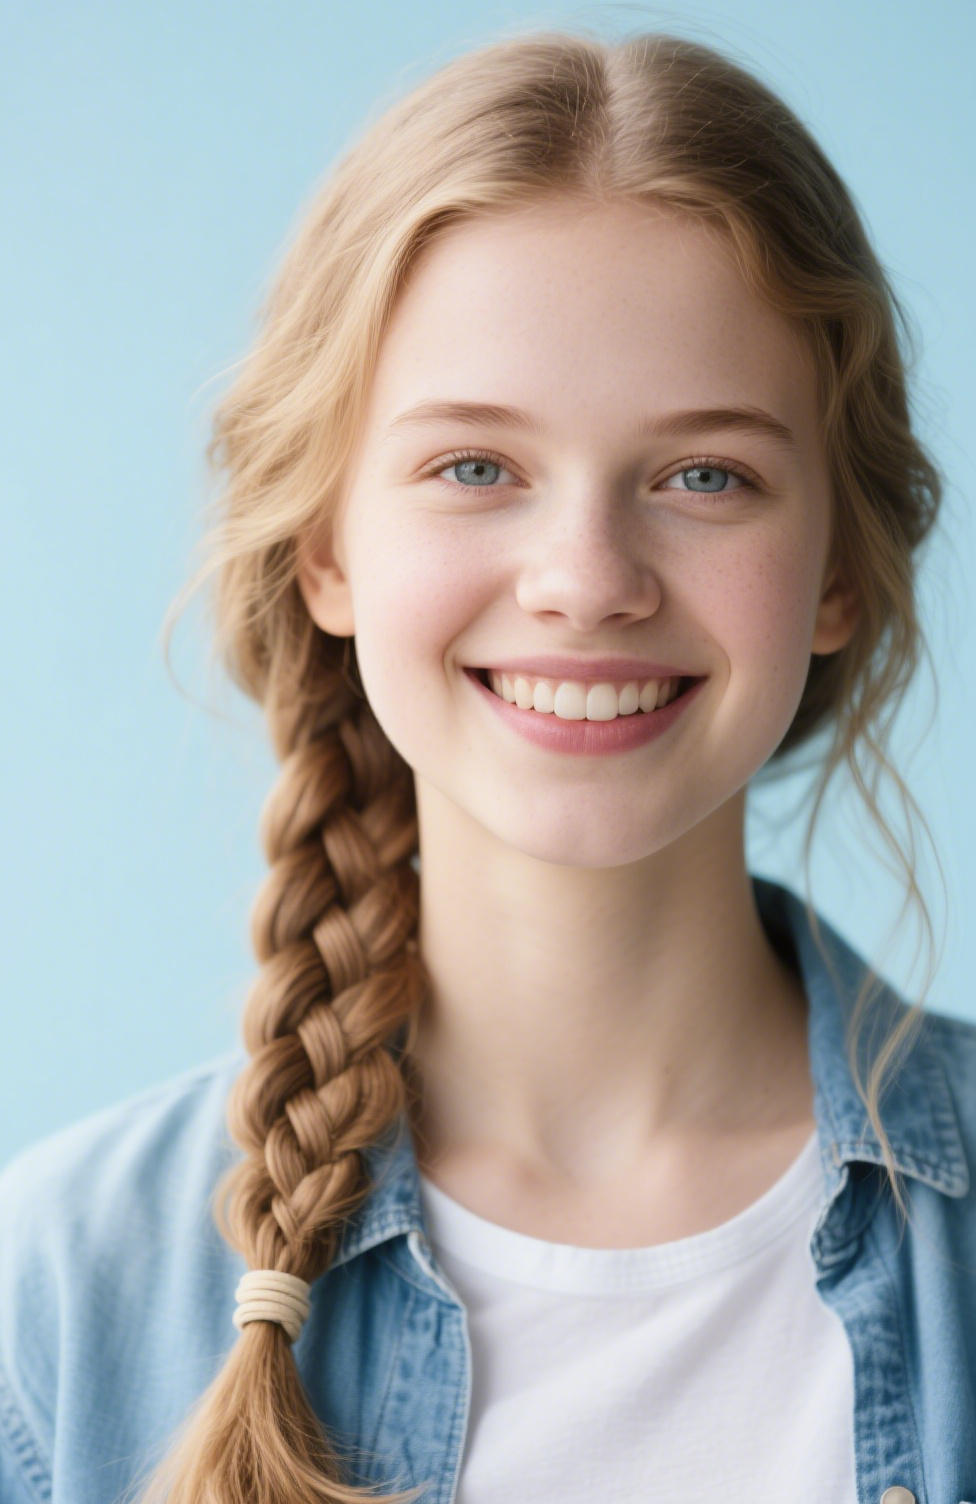
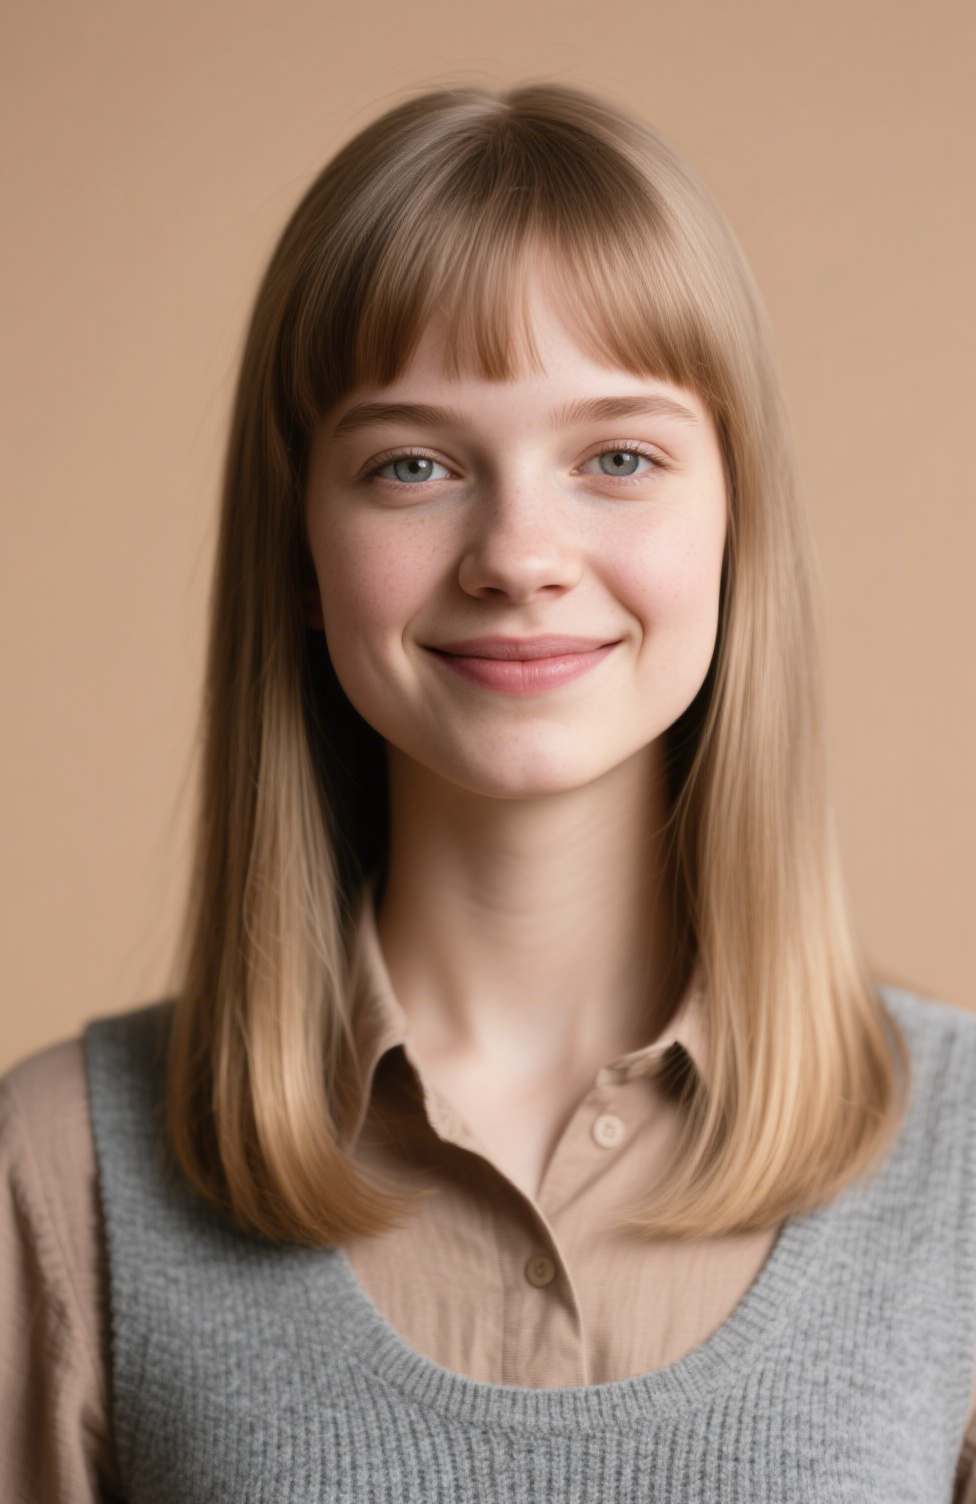
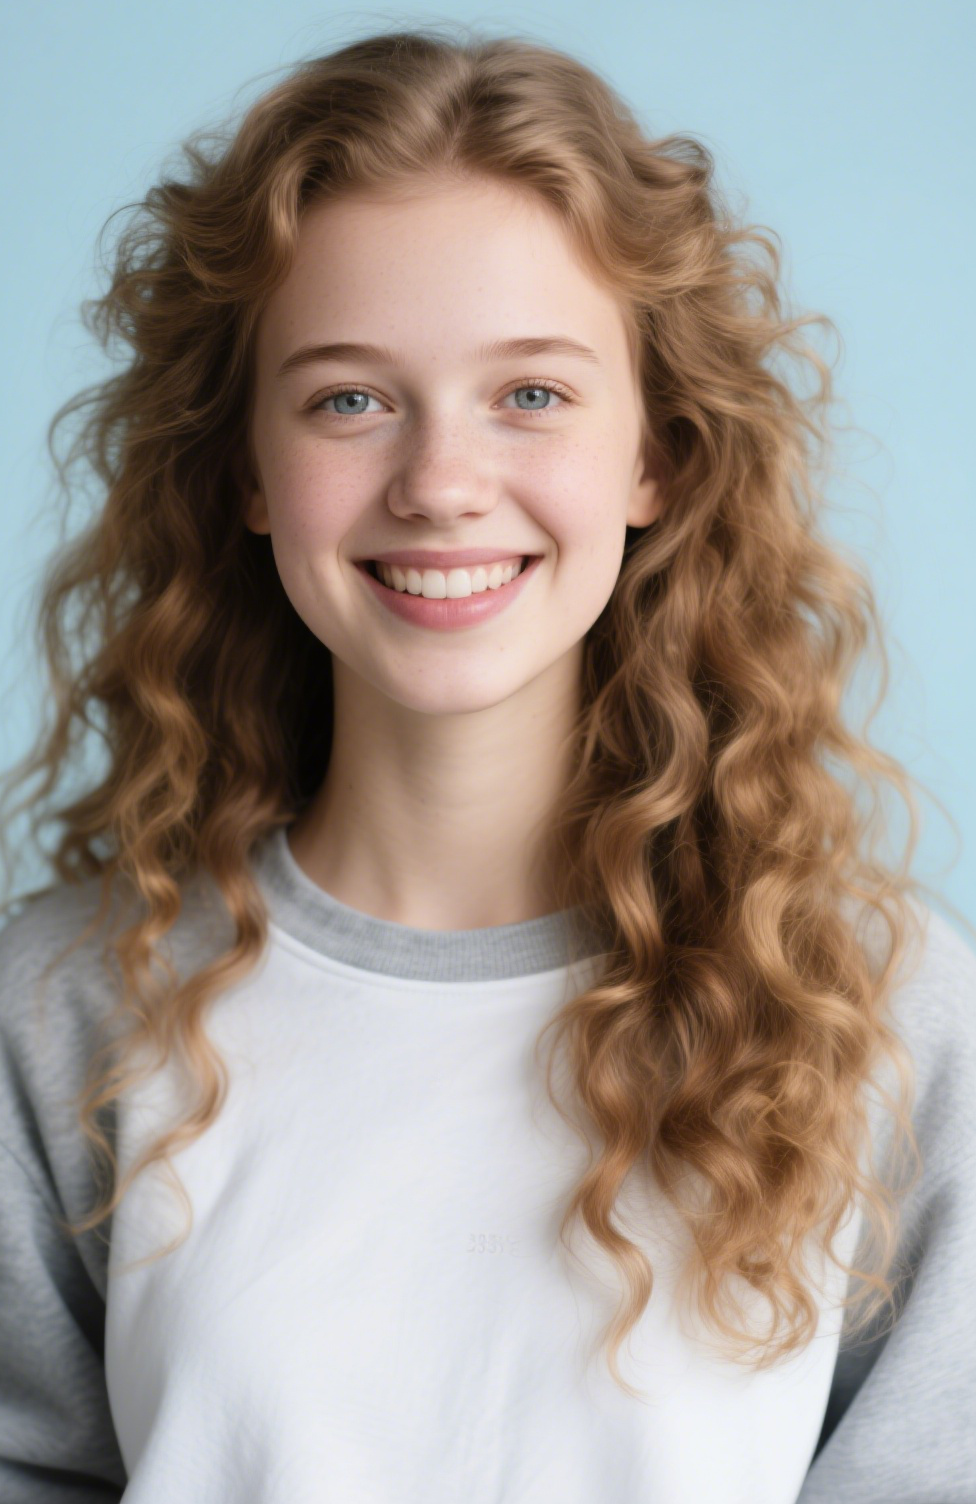
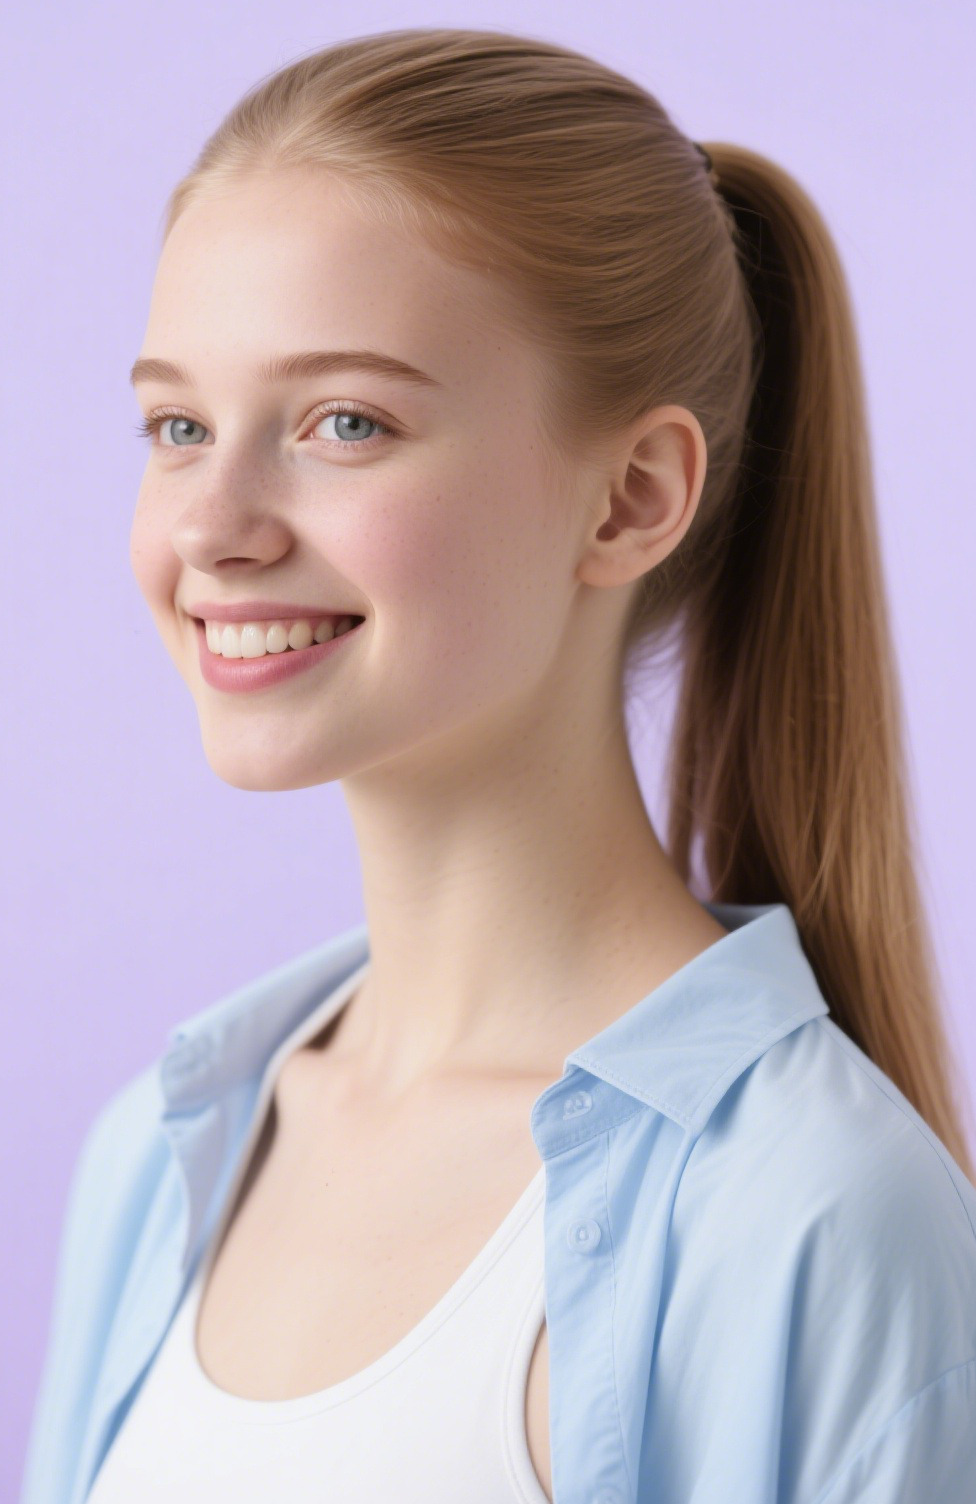
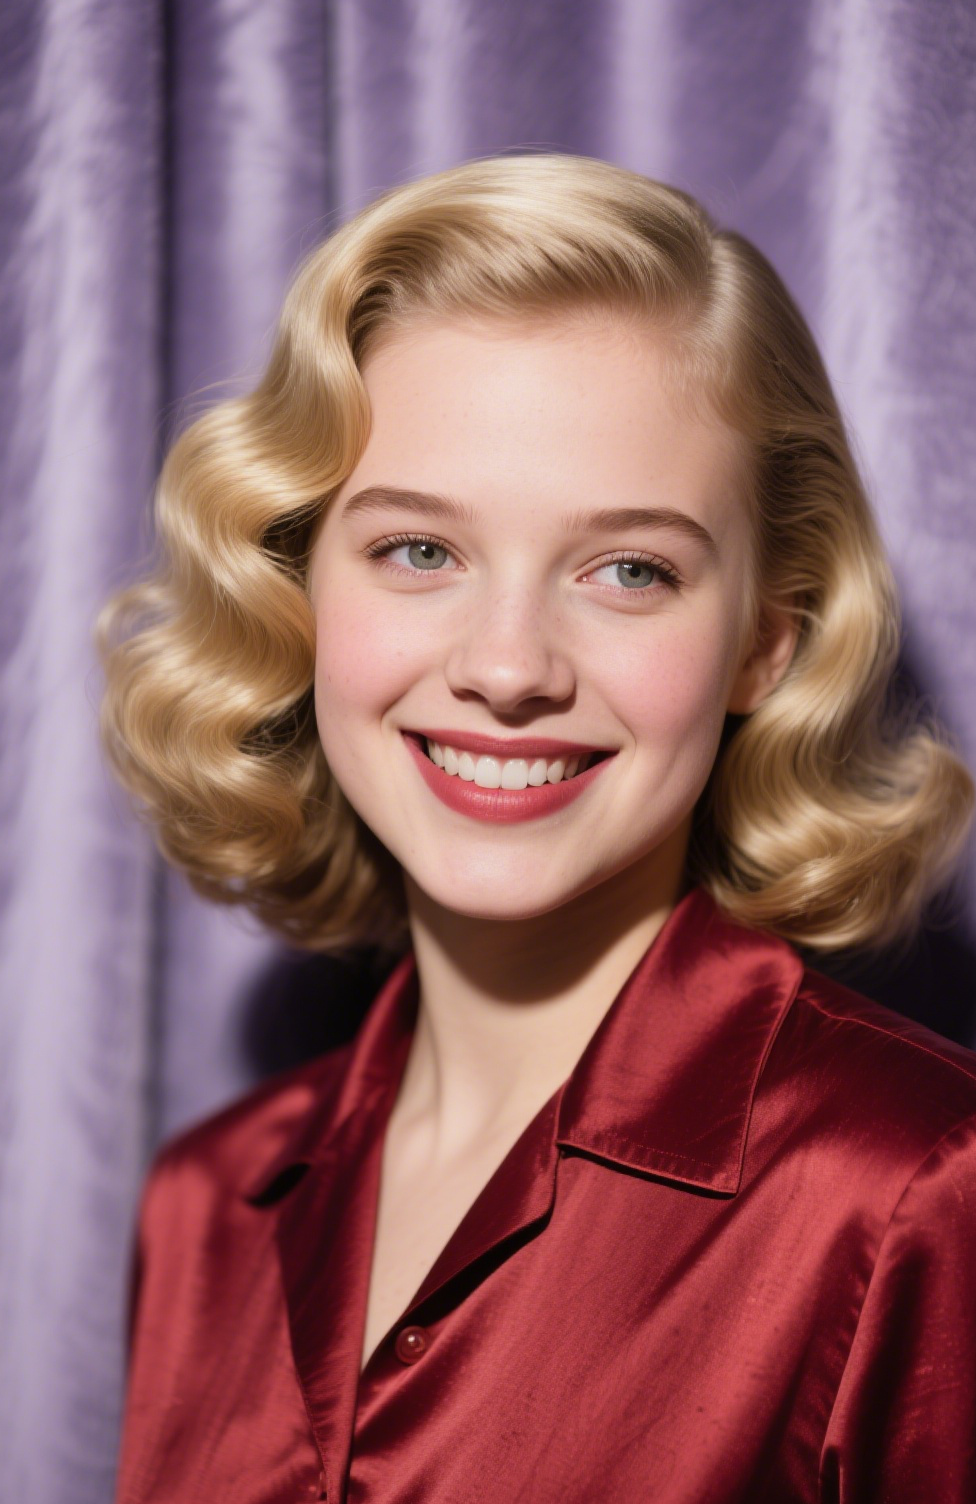
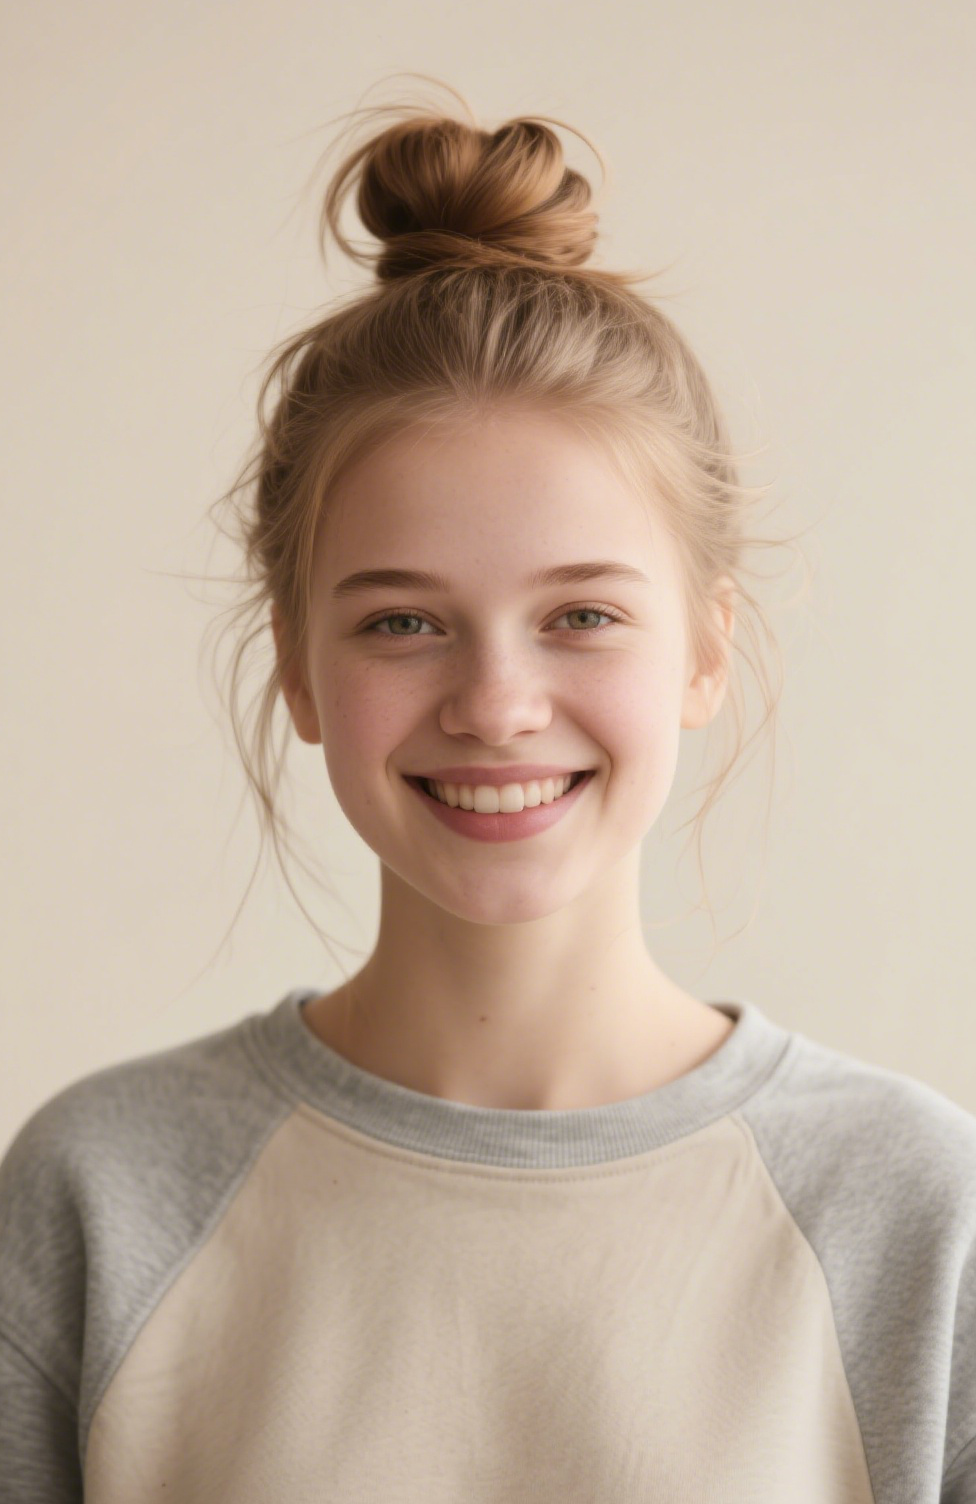
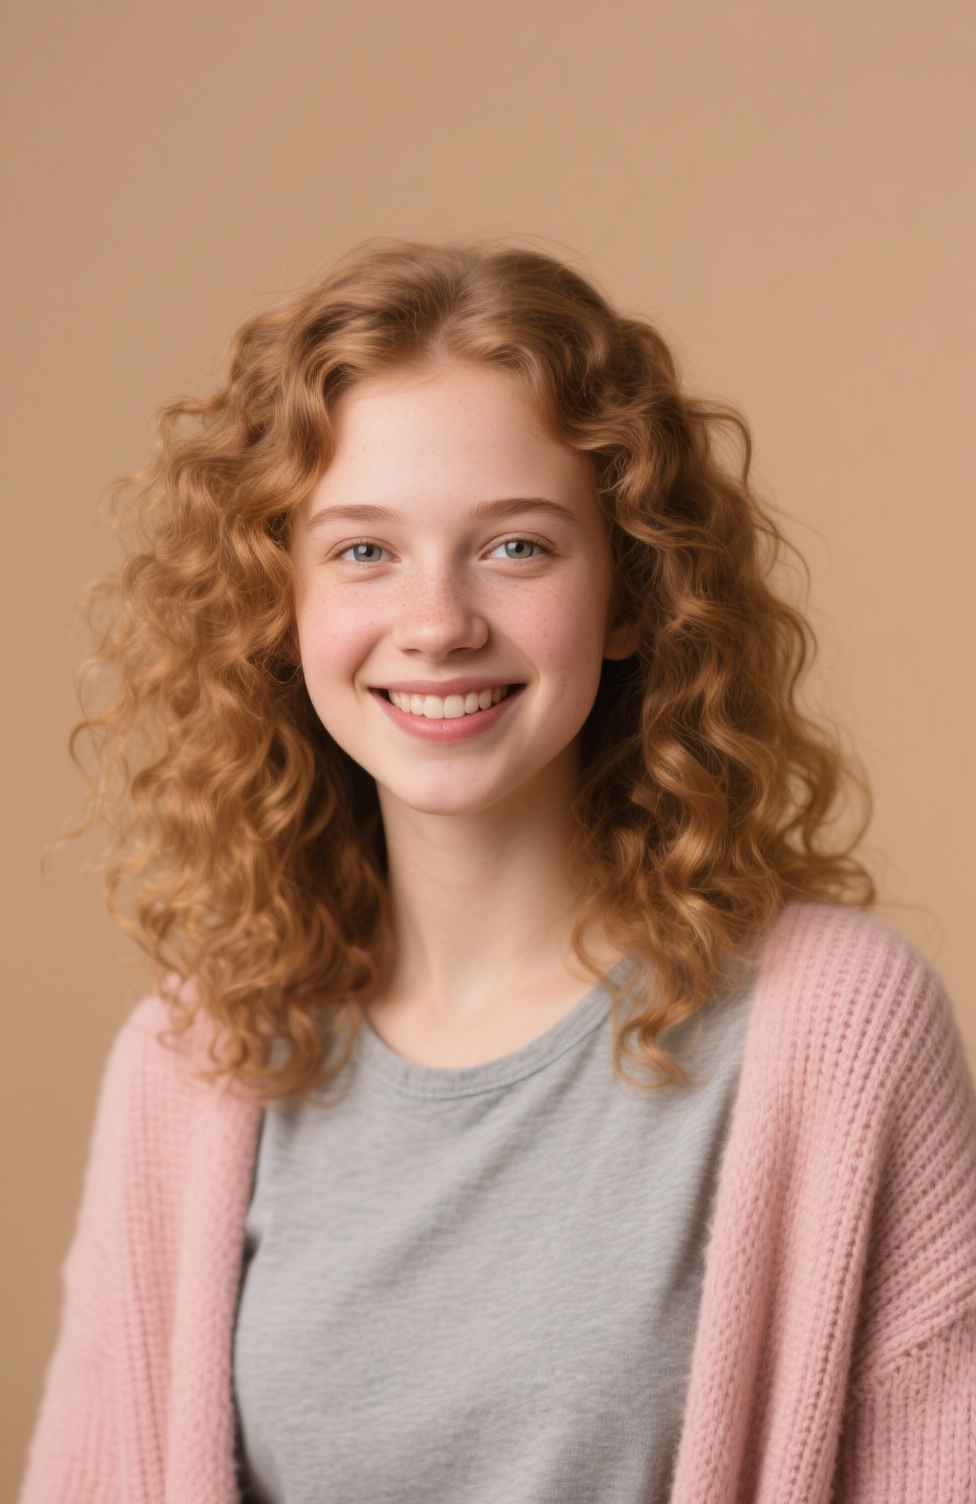
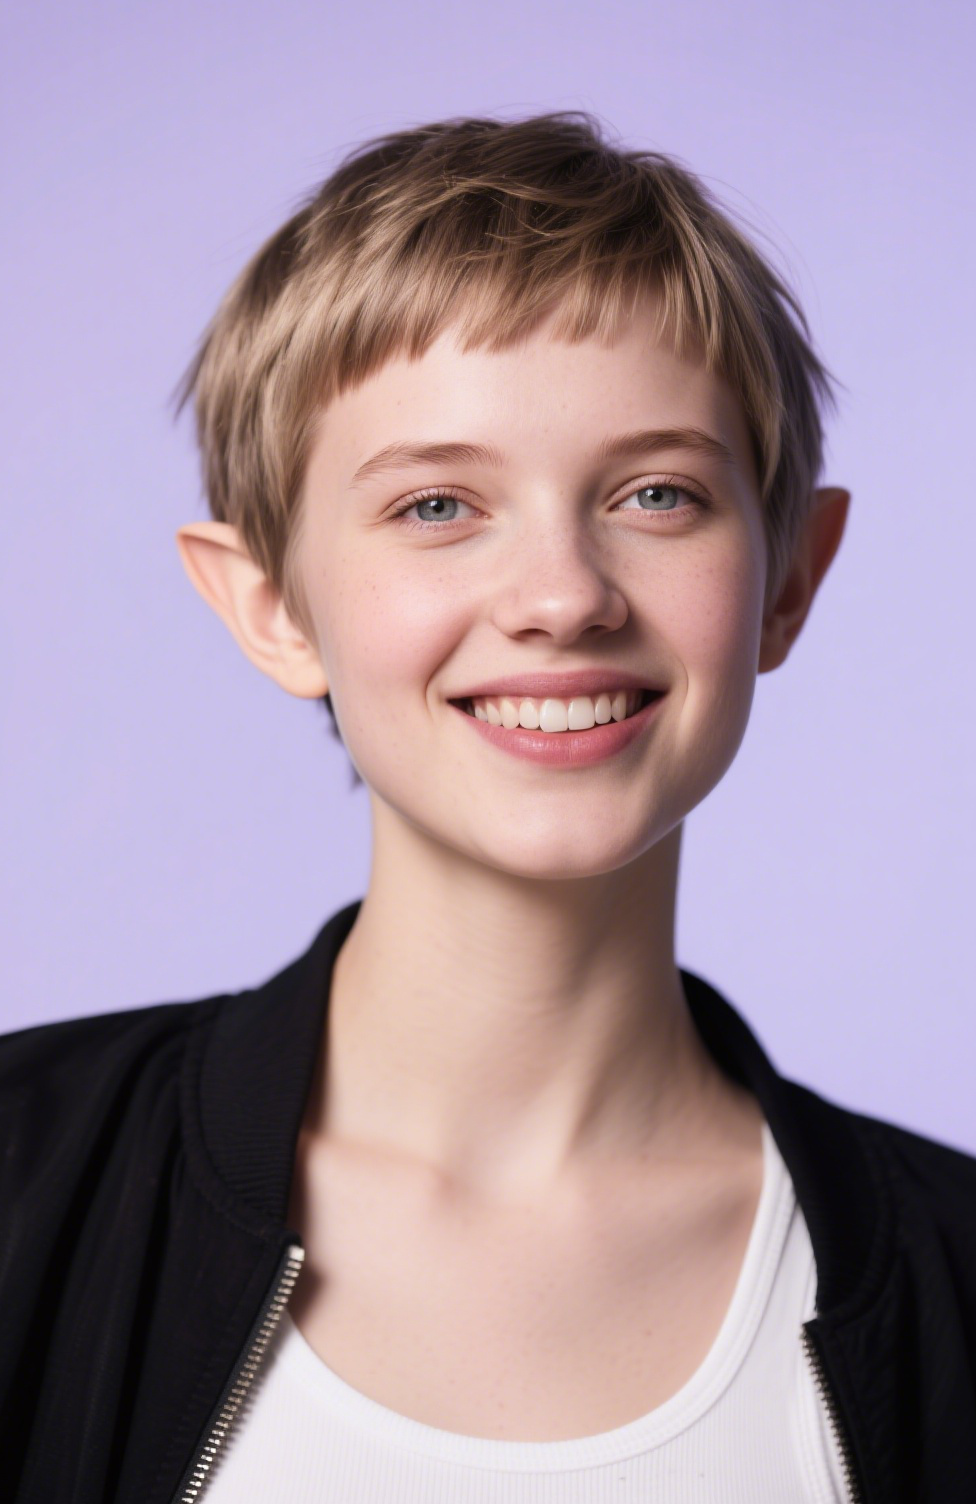
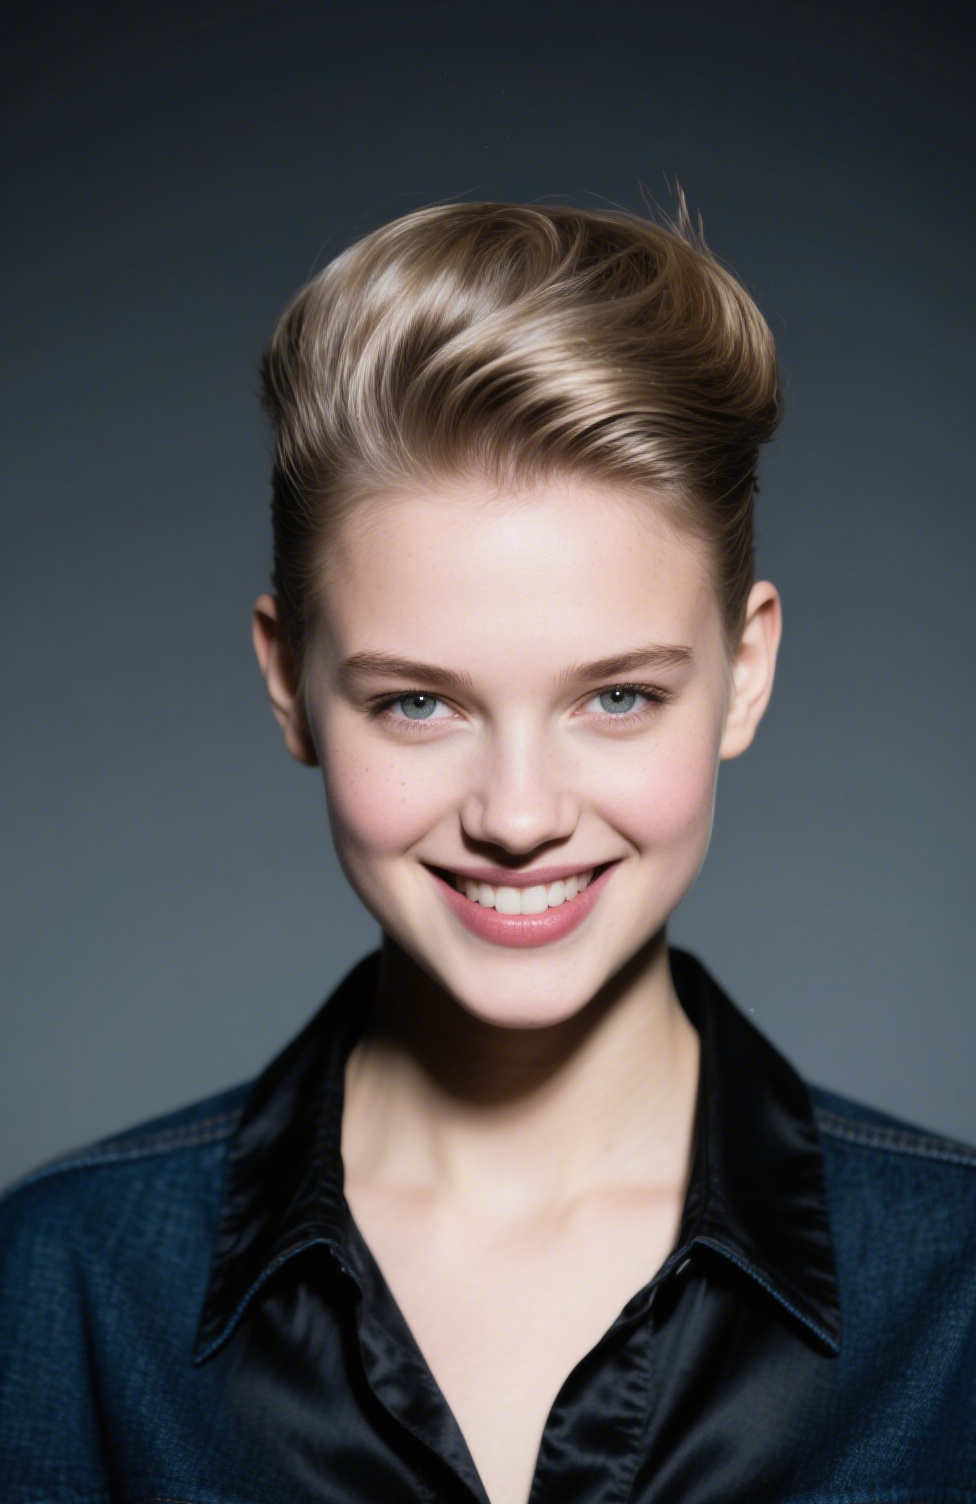
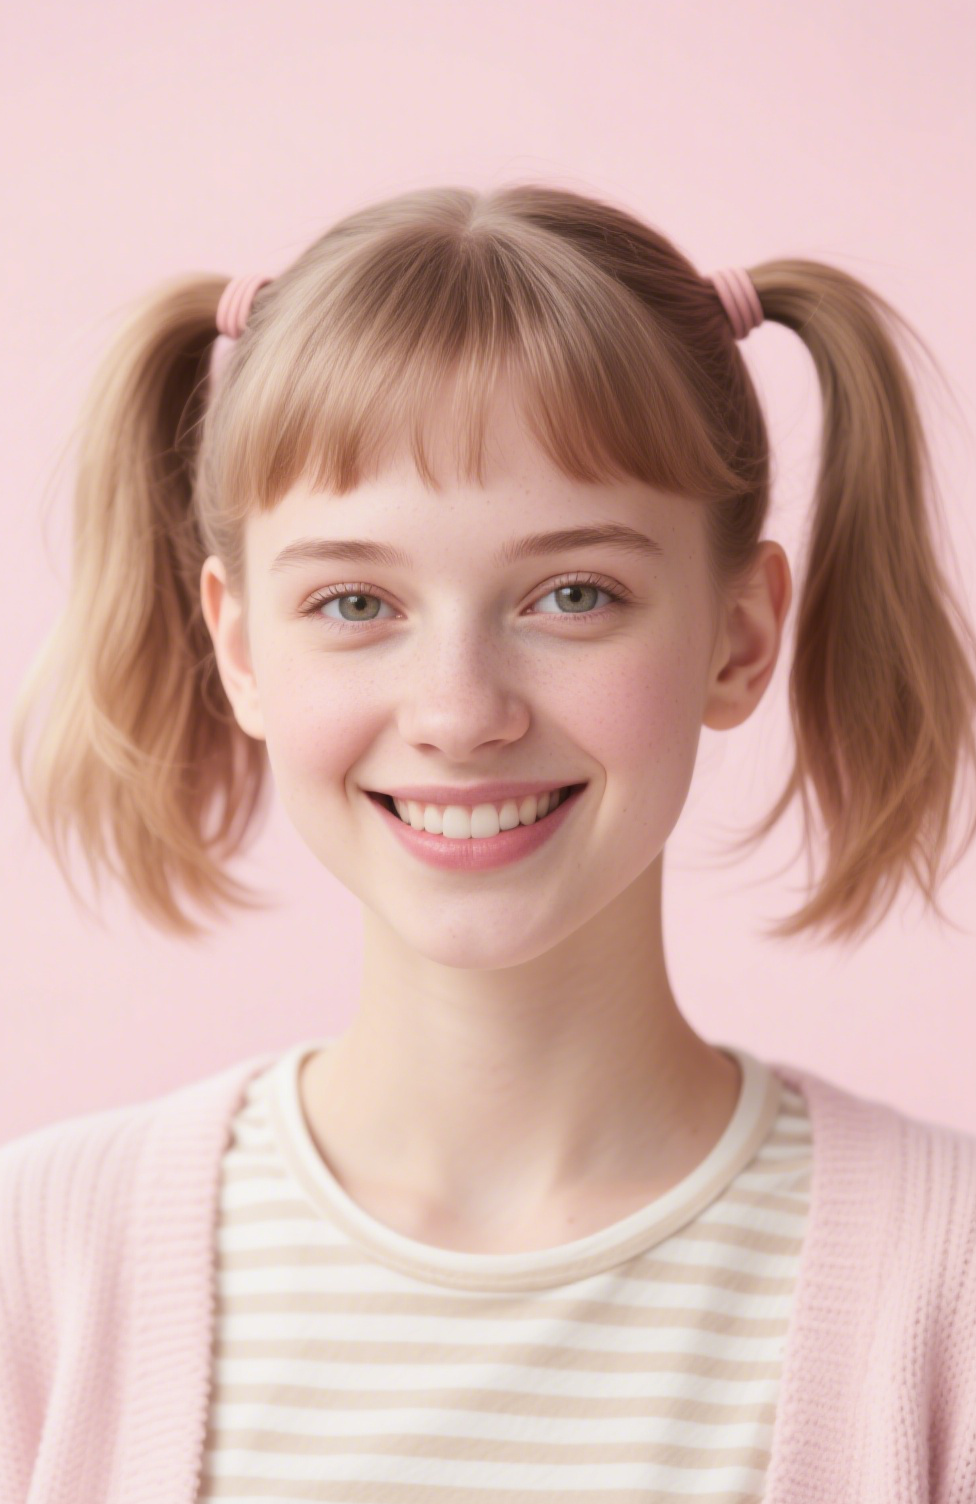
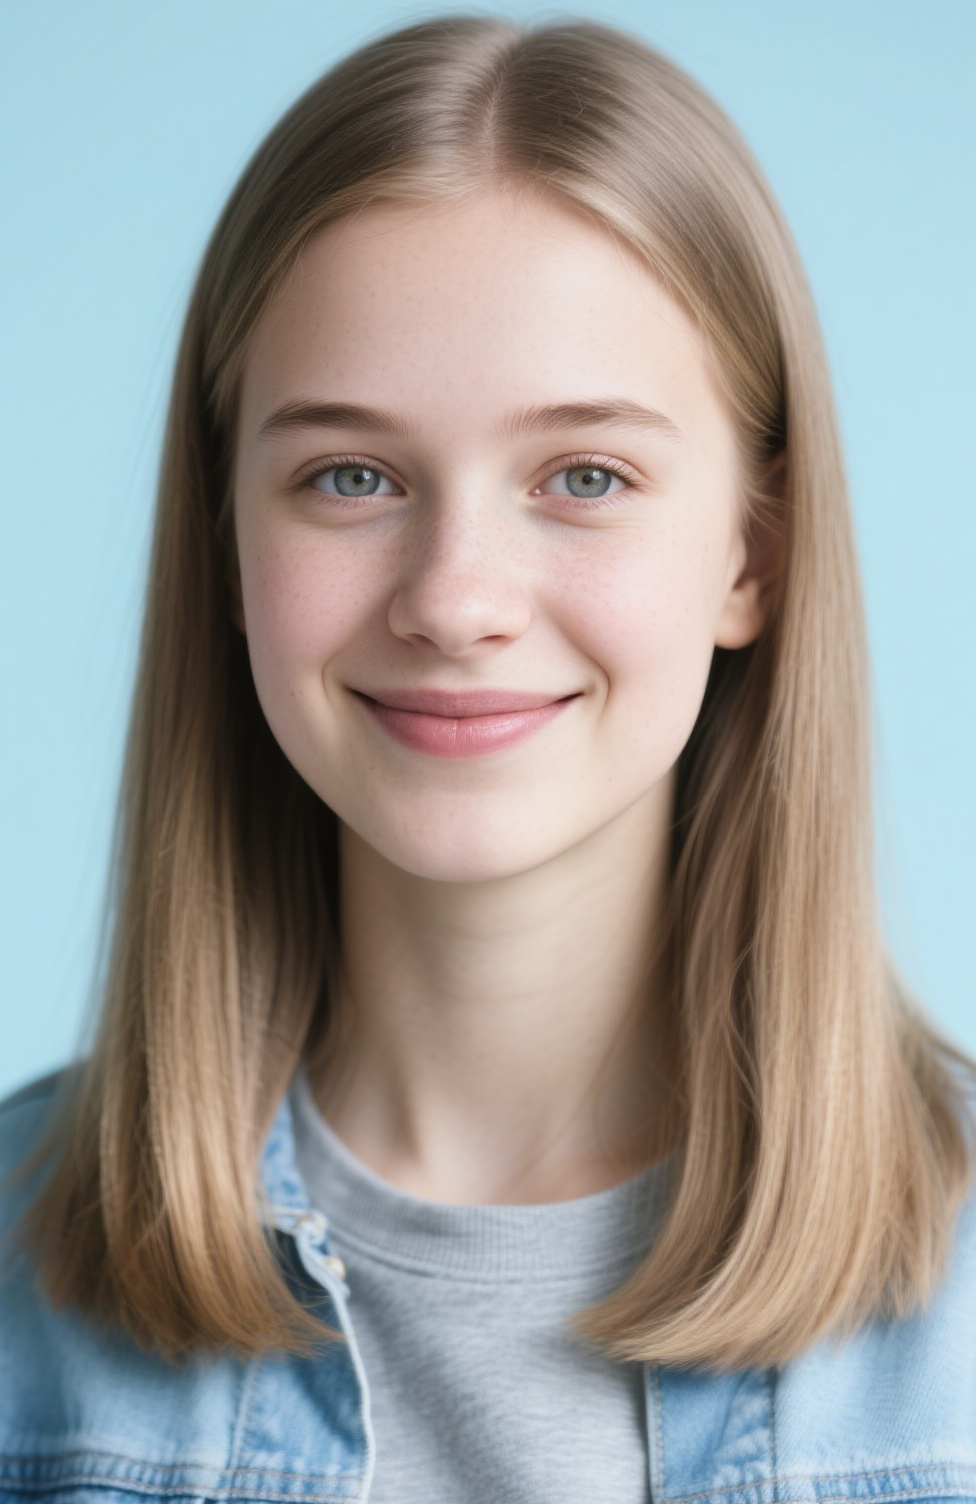
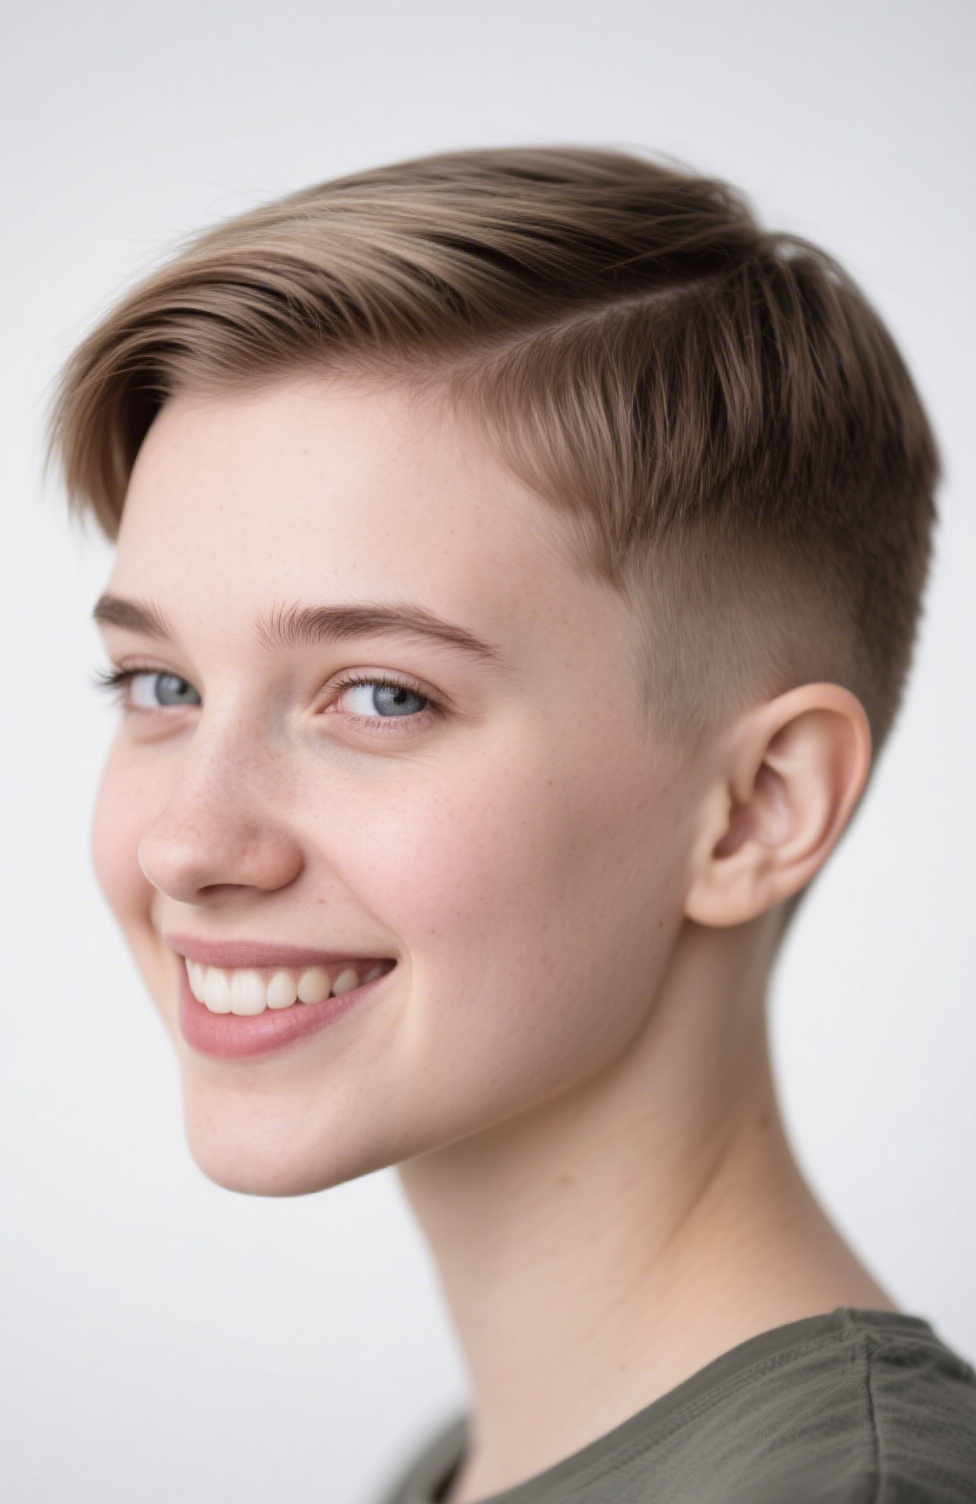
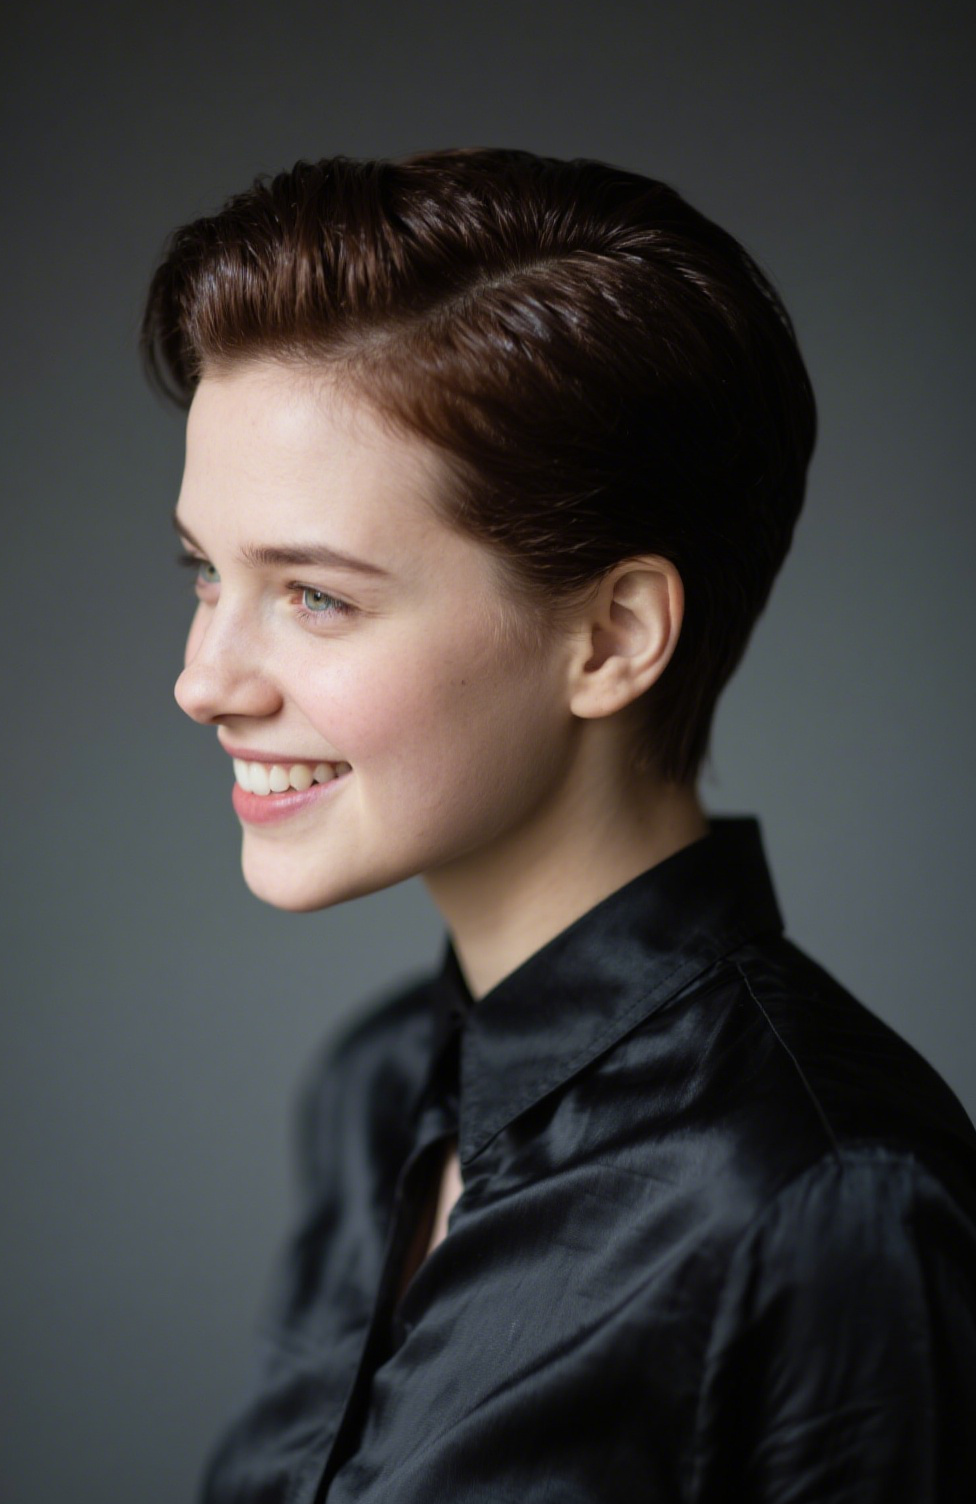
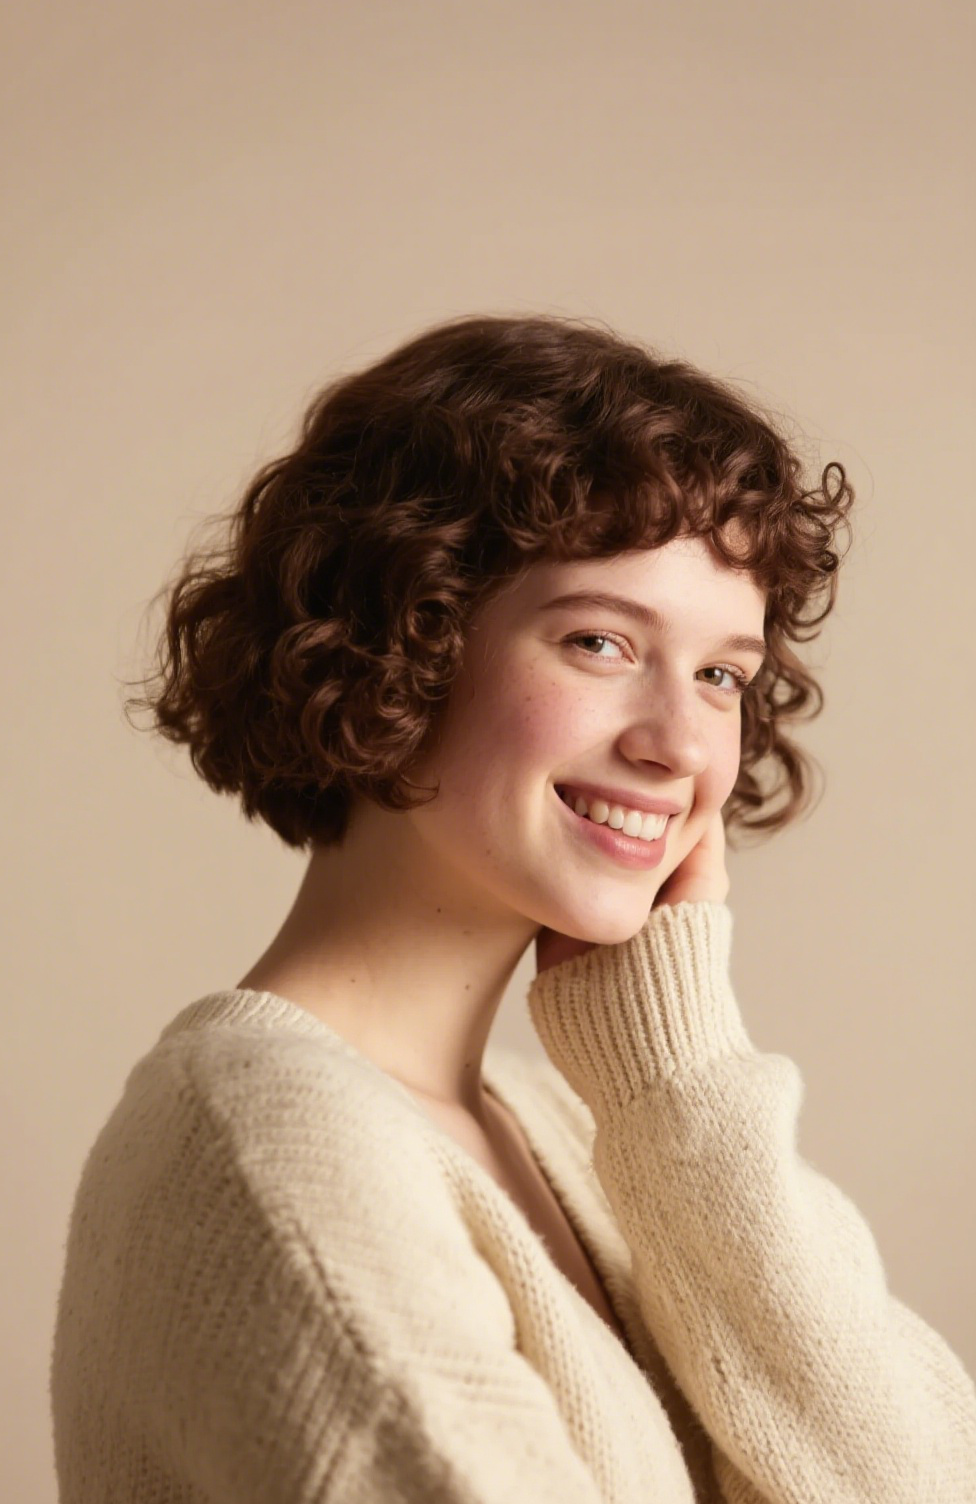
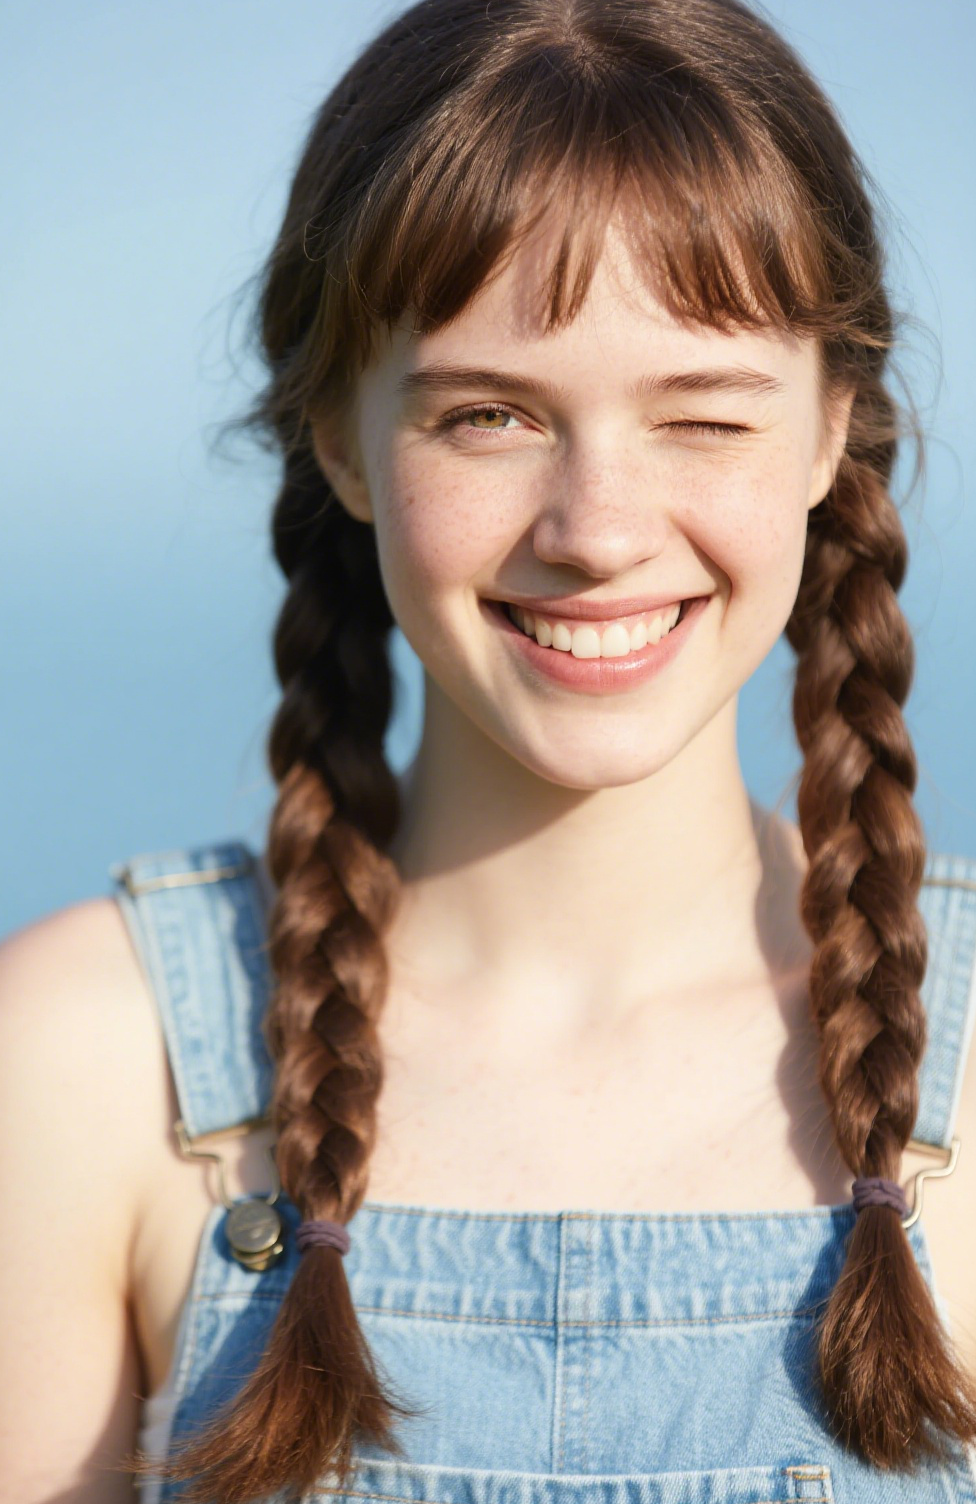
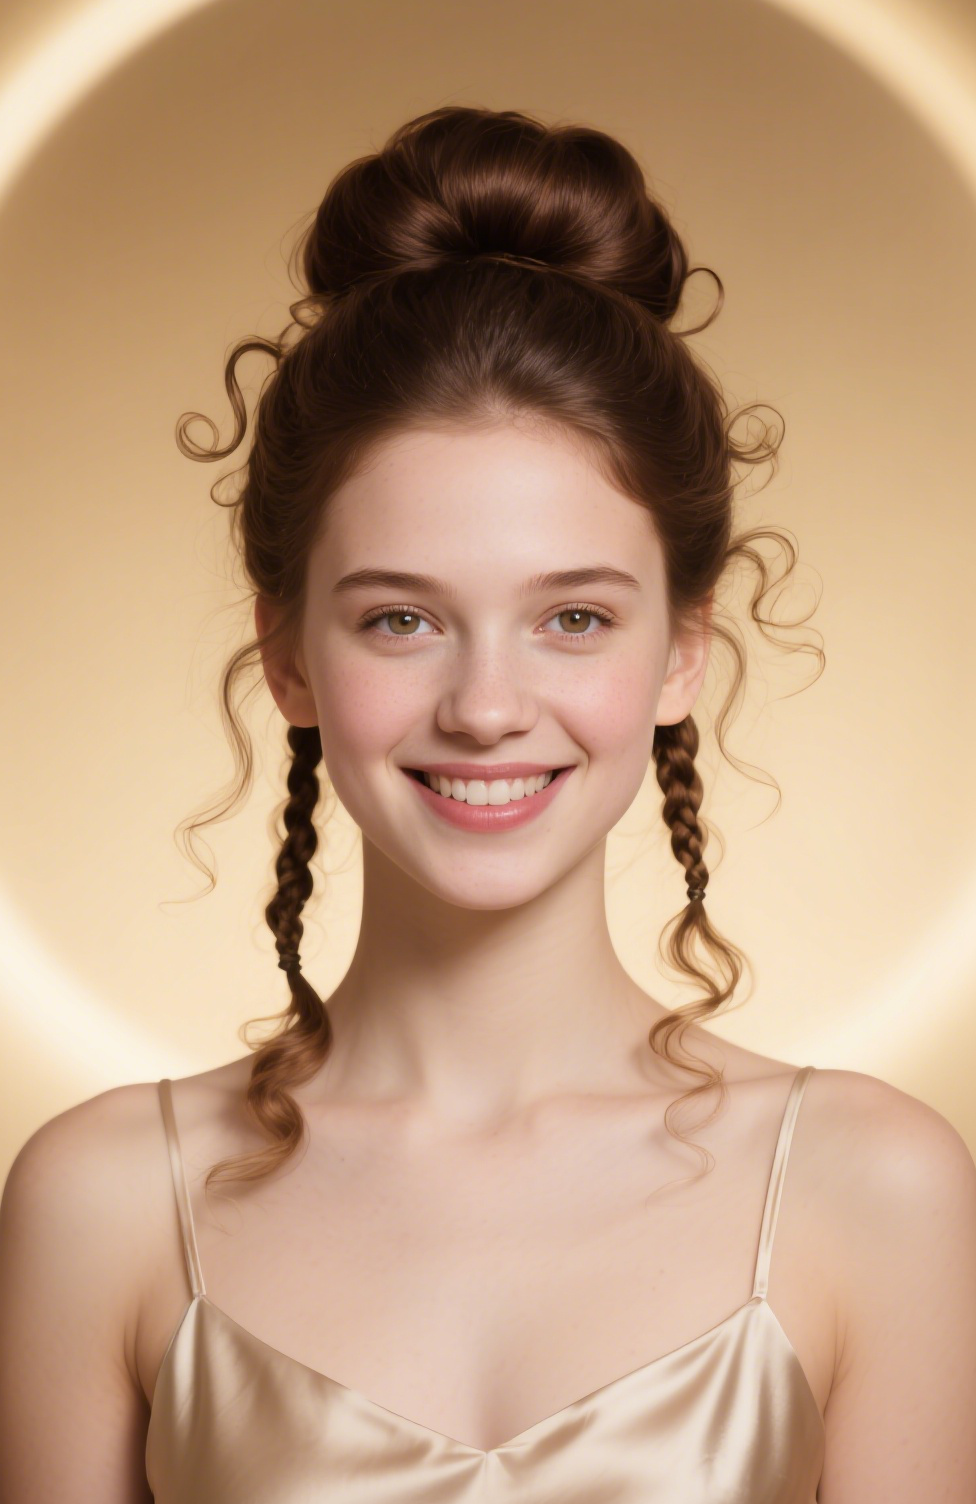
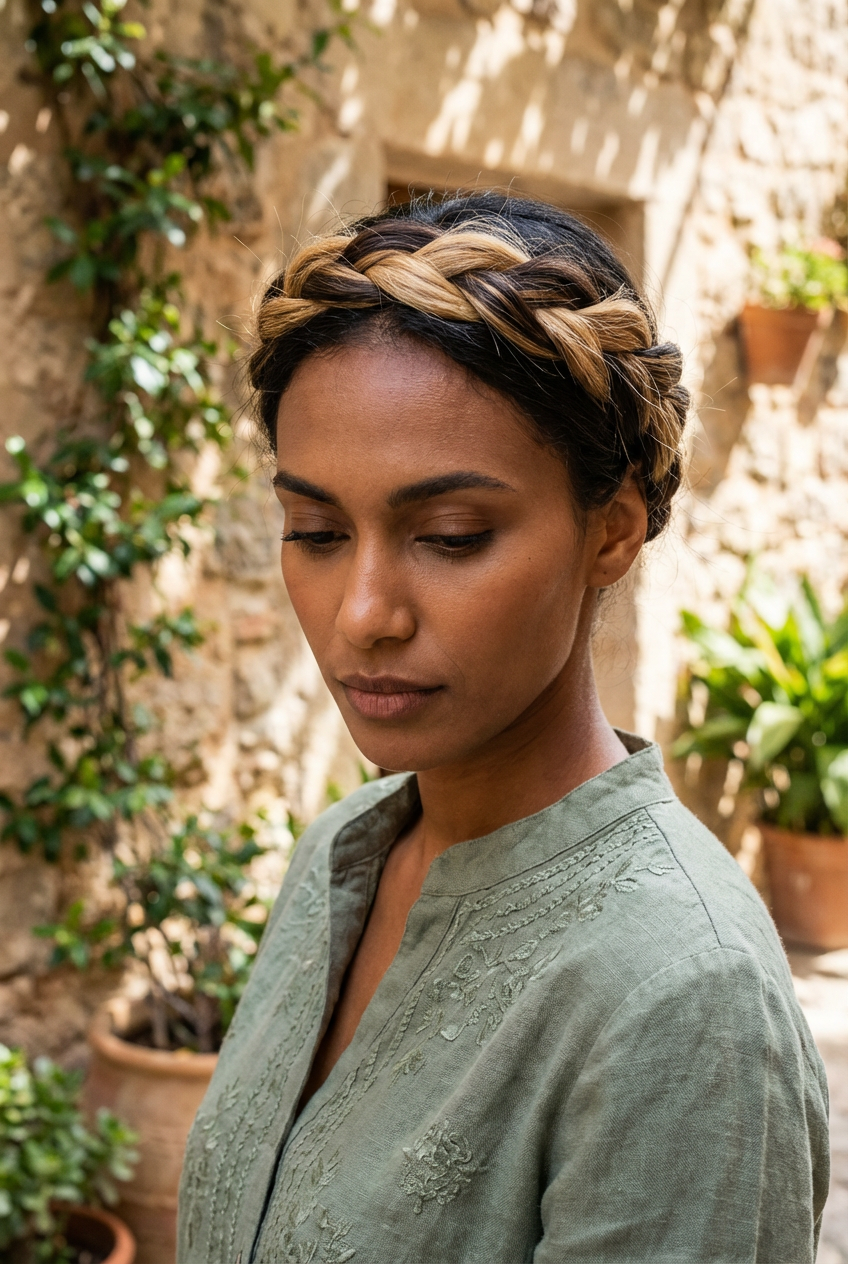
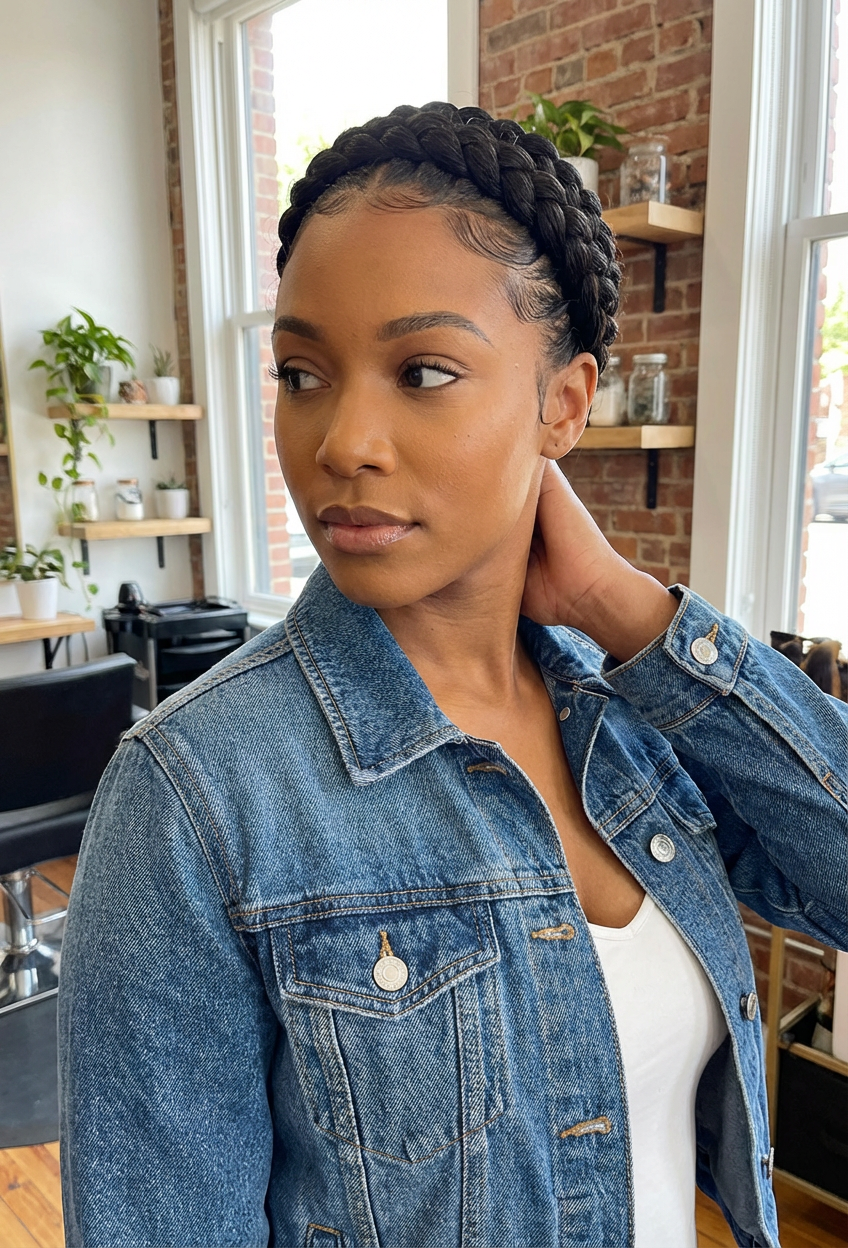
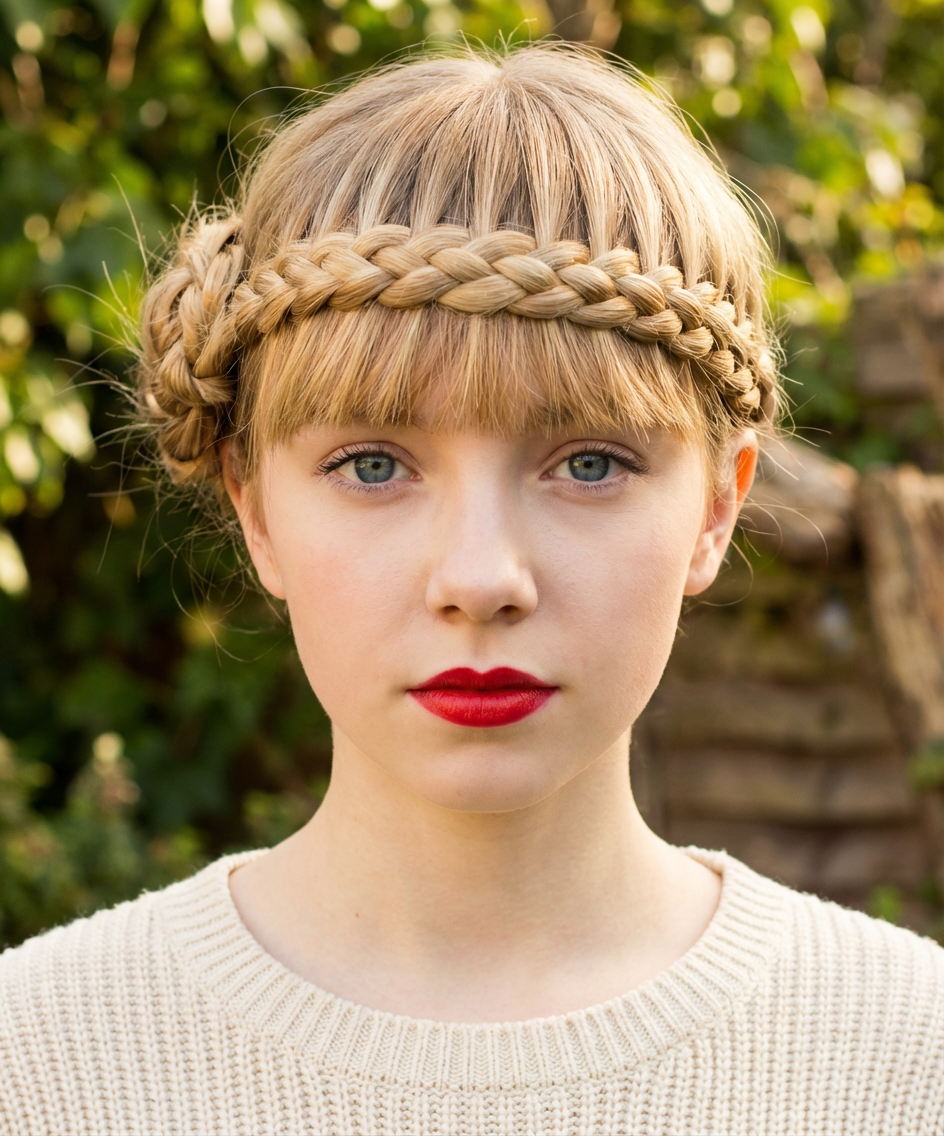
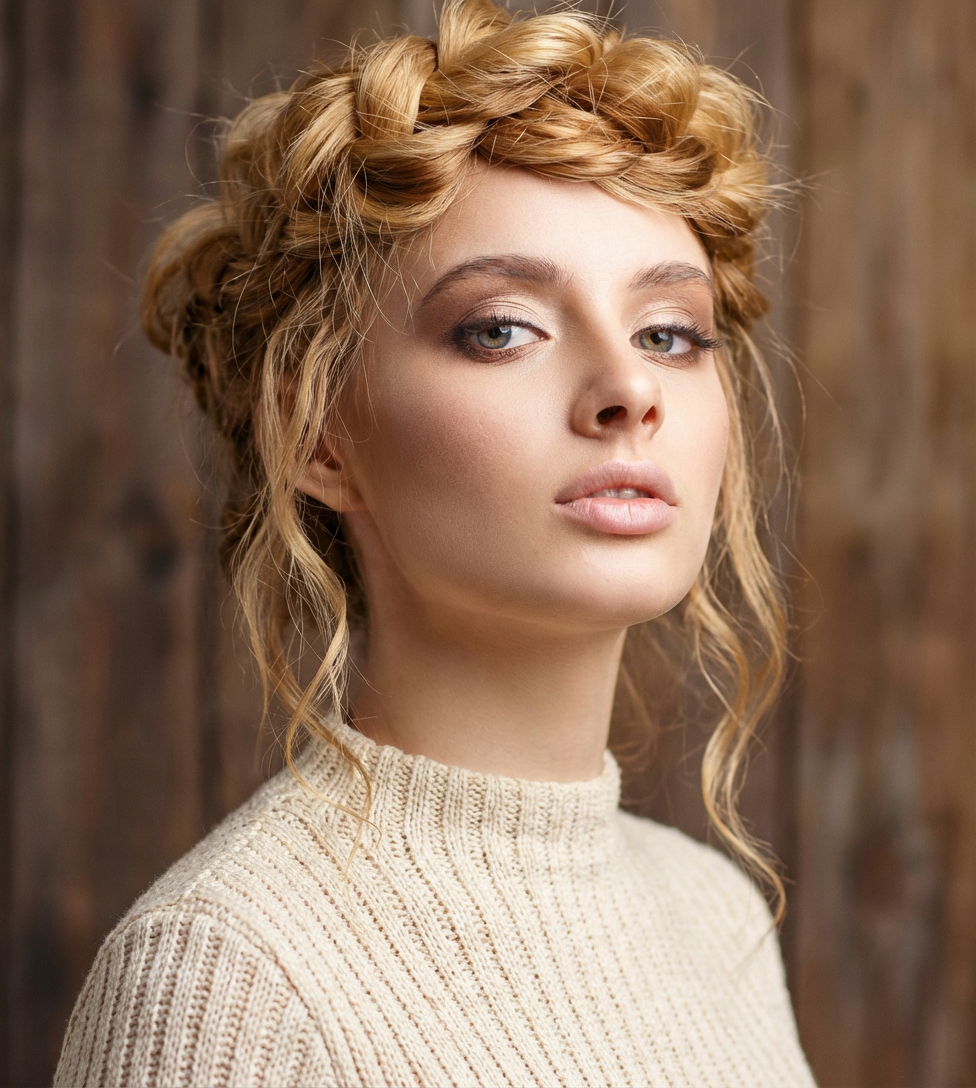
Inspiration gallery:
What Is a Crown Braid? Definition, History & Why It Lasts
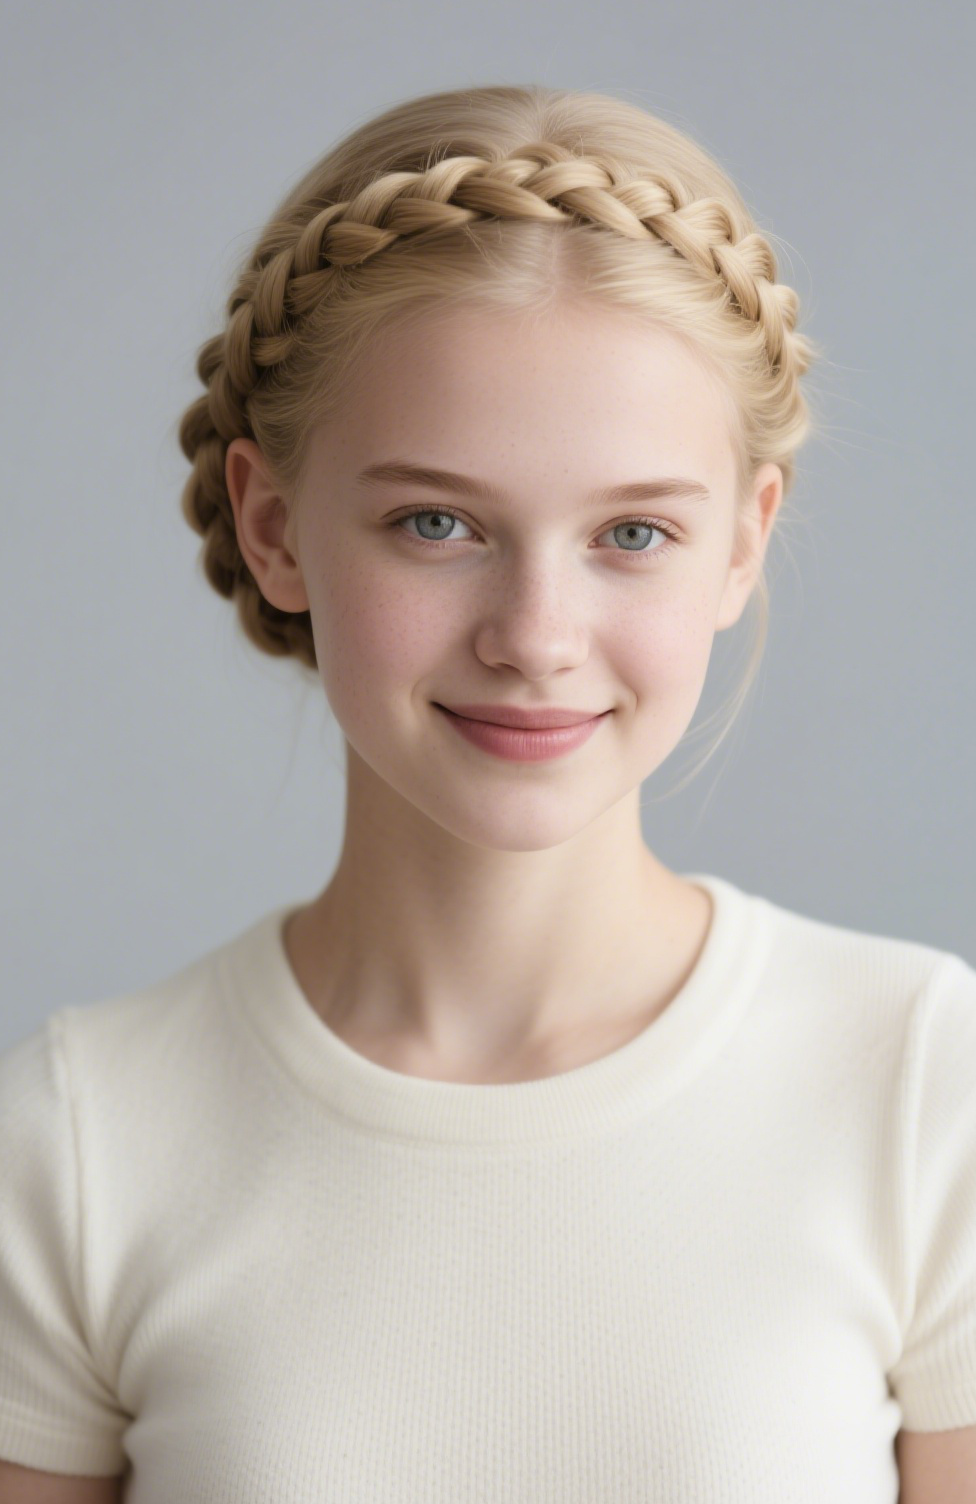
A crown braid is a braid that circles the head horizontally, usually starting near one ear and finishing at the other, then pinning the ends for a seamless halo. It traces back to European roots (often called Gretchenfrisur or farmer’s crown) where women used it to keep hair tidy. Today it’s a styling staple because it frames the face, secures hair for hours, and adapts to formal or everyday looks. It differs from vertical French or Dutch braids because it travels around the head; a milkmaid braid is a half-up variant pinned across the crown.
Not sure if a crown braid matches your face shape or texture? Try it virtually with BlondeFilter’s AI hairstyle filter to preview the look before you braid. (CTA #1)
How to Do a Crown Braid: Step-by-Step Tutorial (Dutch Base)
What you’ll need: 2-4 bobby pins, 1-2 small clear elastics, texturizing spray or dry shampoo, a wide-tooth comb, and light hairspray.
Prep: Day-old hair with added texture holds best. Brush out tangles, mist texturizing spray, and add slight waves if your hair is very silky.
Steps (Dutch method = strands cross under):
- Part and start: Take a 1-2 inch section above one ear (side or center part works). Split into three even strands.
- First crosses: Cross bottom strand under to center; cross top strand under to center to build the raised Dutch effect.
- Add hair evenly: Before each new cross, add a small section from above to the top strand, then cross under; add from below to the bottom strand, then cross under.
- Follow the hairline: Move horizontally around your head, keeping tension snug but not tight.
- Incorporate front hair: By halfway around, most front hair is in the braid, making the pattern easier to maintain.
- Finish the length: When no more hair is left to add (around the nape), switch to a regular three-strand braid and secure with a clear elastic.
- Repeat the other side: Mirror the steps from the opposite ear.
- Wrap and pin: Lay the first braid across the crown and pin it discreetly; layer the second braid over/under and pin.
- Pancake for volume: Gently pull outer edges of each braid loop to widen and soften the look.
- Set: Lightly mist hairspray to lock shape without stiffness.
Common fixes: If braids feel flat, pancake more; if they slip, add texturizing spray and pin at scalp connection points; if they pull, loosen tension for comfort. Expect 15-20 minutes once practiced (25-30 minutes the first time).
Crown Braid for Every Hair Type
Short hair (shoulder-length or shorter): Use plenty of texture. Start braids closer to the middle part; create two Dutch braids and pin toward the back for a half or partial crown effect. Leaving soft face-framing pieces adds balance.
Natural/textured hair: Works beautifully as a protective style. Prep with light leave-in for moisture; braid on stretched or lightly damp hair; use smaller sections for control. Avoid extensions—natural texture gives inherent dimension.
Thick hair: Expect gorgeous volume. Braid slightly tighter, use 3-4 bobby pins per side, and pancake strategically. Weight helps the braid stay once pinned.
Fine hair: Texture spray is essential. Braid a bit tighter, use small elastics, and pancake gently for controlled fullness. Half-crown versions need less hair mass.
Black hair and curly/coily patterns: Hydrate first, work in smaller sections, and keep tension comfortable. Natural curl creates striking detail without heavy pancaking; leave a few curls out for softness if desired.
Wondering how your hair type will hold a crown braid? Preview it in seconds with BlondeFilter’s AI hairstyle try-on to pick the right tension, parting, and finish. (CTA #2)
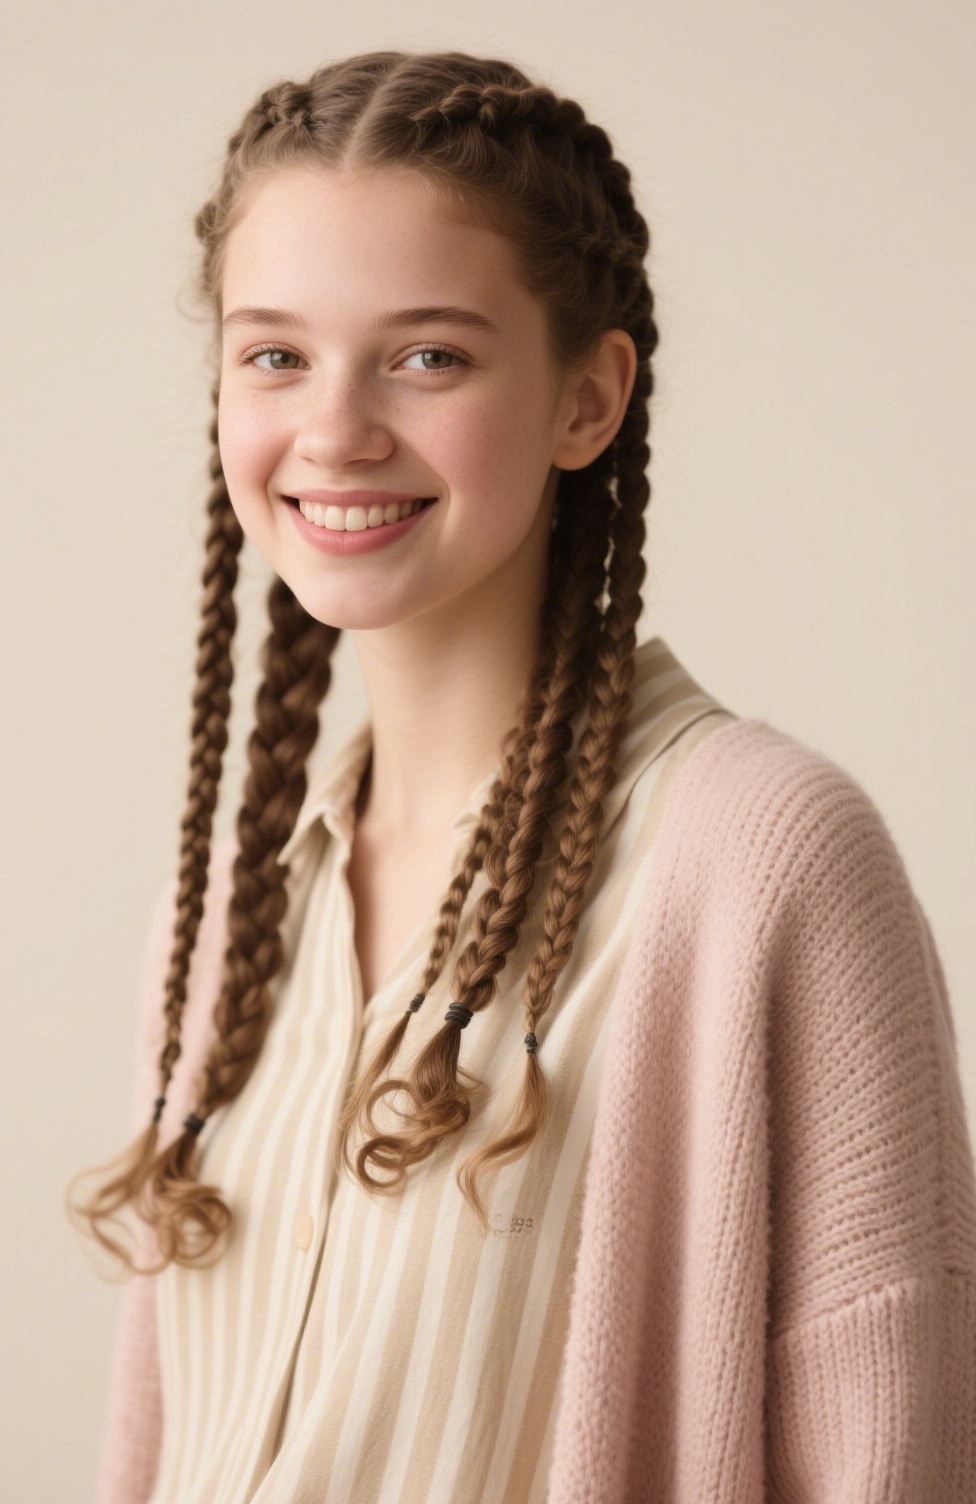
Crown Braid Variations: 5 Looks to Try
- Dutch Crown Braid (classic): Structured, raised texture; ideal all-rounder for control and polish.
- Fishtail Crown Braid: Two-strand weaving with fine detail; romantic and intricate for weddings or date nights.
- Milkmaid / Half Crown: Two braids from the front pinned across the back; hair down in back for easy, everyday wear.
- Pull-Through Crown Braid: Elastic-based faux braid; great for beginners or quick styling on shoulder-length hair.
- Bohemian or Double Crown: Loose, intentionally undone, or doubled side-by-side for editorial drama; perfect with ribbons, flowers, or beads.
Crown Braid for Every Occasion
Casual/Everyday: Keep it loose with minimal product and soft tendrils; pairs with denim, sundresses, or athleisure.
Weddings & formal events: Tighter, cleaner braids; precise pancaking; secure with extra pins. Add pearls, pins, or baby’s breath; pair with soft waves if hair is partly down.
Proms/galas: High-shine finish, even tension, luxe accessories (pearls, metallic clips) for photo-ready detail.
Protective styling (natural hair): Light leave-in, low tension, and satin/silk overnight care. Wear 3-5 days, then rest your scalp before rebraiding.
Active days (sports, hiking, dancing): Firm tension, flexible hairspray, and anchor pins where braid meets scalp to prevent slip.
Festivals/costume looks: Embrace undone texture; weave in ribbons or beads for boho energy.
Trying to choose the best look for a wedding, prom, or big event? Test variations virtually with BlondeFilter’s AI hairstyle filter before committing time. (CTA #3)
Pro Tips: Volume, Longevity, and Troubleshooting
Pancaking 101: Starting at the braid end, pinch and pull outer edges upward and outward. Work slowly up each loop for airy fullness; adjust intensity to match the occasion.
Texture first: Volumizing or sea salt spray on damp hair, then rough-dry. Second-day hair is ideal; avoid starting with slippery, fresh-washed strands.
Smart products: Texturizing spray for grip; light hairspray after pancaking to set shape; clay or volumizing foam at roots for lift; light leave-in for natural hair.
Bobby pin strategy: Pin horizontally where the braid meets the scalp; angle pins into the braid’s underside; use 2-4 per side (more for thick hair).
Multi-day wear: Day 2—refresh with texturizing spray and re-pin; Day 3—embrace a softer, boho look or re-braid if tension loosens. Sleep in a silk/satin bonnet to minimize frizz.
Troubleshooting: If the braid slips, add texture and pins at anchor points. If uneven, use cleaner, smaller sections. If it feels puffy, pancake less and braid tighter. If timing is slow, practice—speed improves after a few tries.
Ready to master your crown braid? Preview it on yourself with BlondeFilter’s AI hairstyle try-on or dive straight into braiding—either way, you’ll get a reliable, head-turning style. (CTA #4)
Frequently Asked Questions
How long does a crown braid take? About 15-20 minutes once practiced; allow 25-30 minutes the first time.
Can I do a crown braid with short hair? Yes—use extra texture and opt for a half crown if length is limited. Start closer to the middle part for balance.
What’s the difference between a crown braid and a milkmaid braid? A crown braid circles the whole head; milkmaid usually uses two braids pinned across part of the crown with hair left down.
How do I make a crown braid look fuller? Pancake gently after braiding and use texture spray beforehand.
Is a crown braid a protective style? Yes, for natural hair it reduces manipulation and shields ends—keep tension comfortable.
How long can I wear one? Typically 3-5 days with light refreshes; give your scalp a rest before rebraiding.
Can I wear a crown braid to a wedding or gala? Absolutely—clean partings, precise pancaking, and subtle accessories make it event-ready.
What products do I need? Essentials: bobby pins, clear elastics, texturizing spray; optional: light hairspray, volumizing products, leave-in for natural hair.
Is a crown braid beginner-friendly? Yes—practice basic Dutch braiding first, then build to the full wrap.
Can I do a crown braid on Black or very curly hair? Definitely—hydrate first, use smaller sections, and let natural texture deliver definition and volume.